- Drain fuel tank using draining unit (981 2270, 2273 and 2282). See Fig 1
.
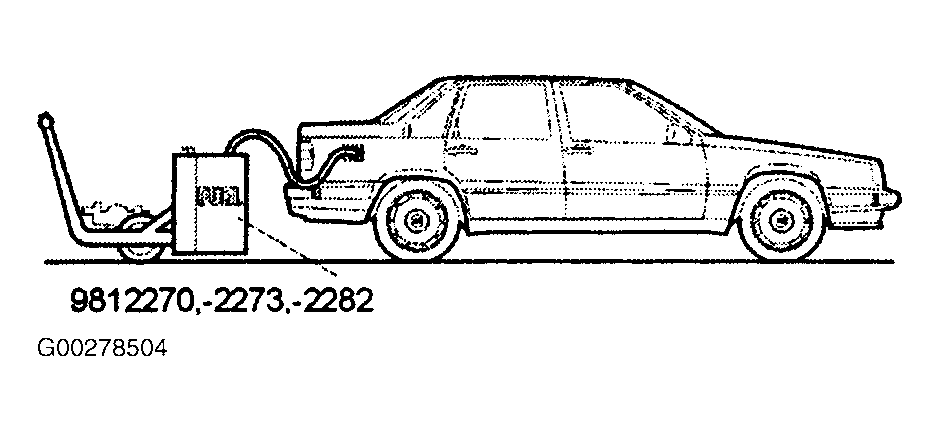 Courtesy of VOLVO CARS OF NORTH AMERICA.
- Insert hose filler pipe at least one meter in order to reach the fuel.
- Cut the end of hose at an angle to get past all sharp edges.
- Remove panels on 5-door cars, fold up the front floor hatch and fold back carpets. See Fig 2
- For 4-door cars, remove the following:
- Cargo compartment carpet. See Fig 2
.
- Right wheel arch panel. Fold back the corner of panel on variants with soft panels.
- Covers over nuts to fuel pump and level sensor.
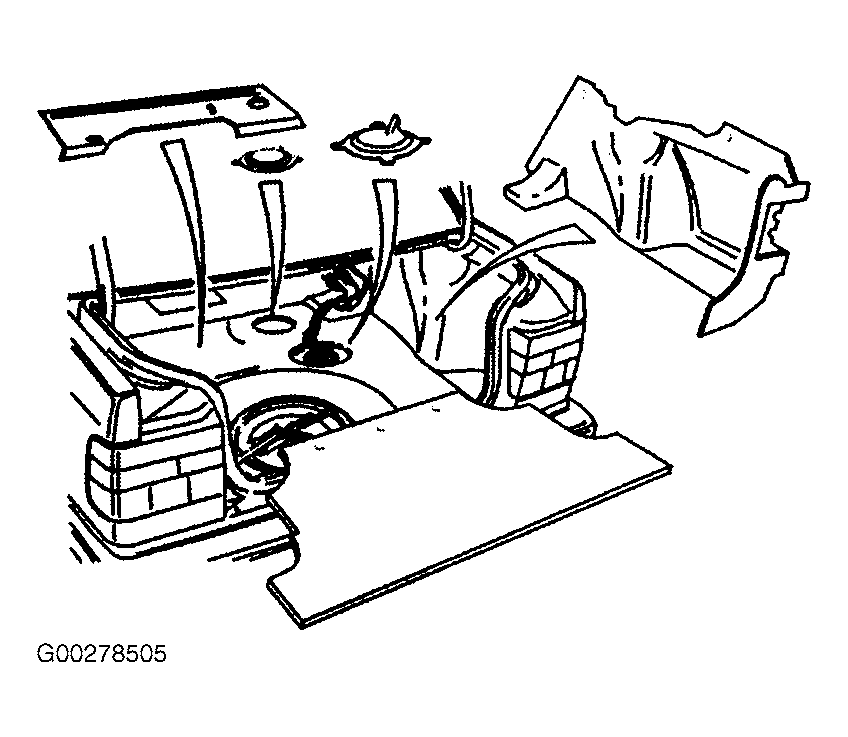 Courtesy of VOLVO CARS OF NORTH AMERICA.
NOTE:
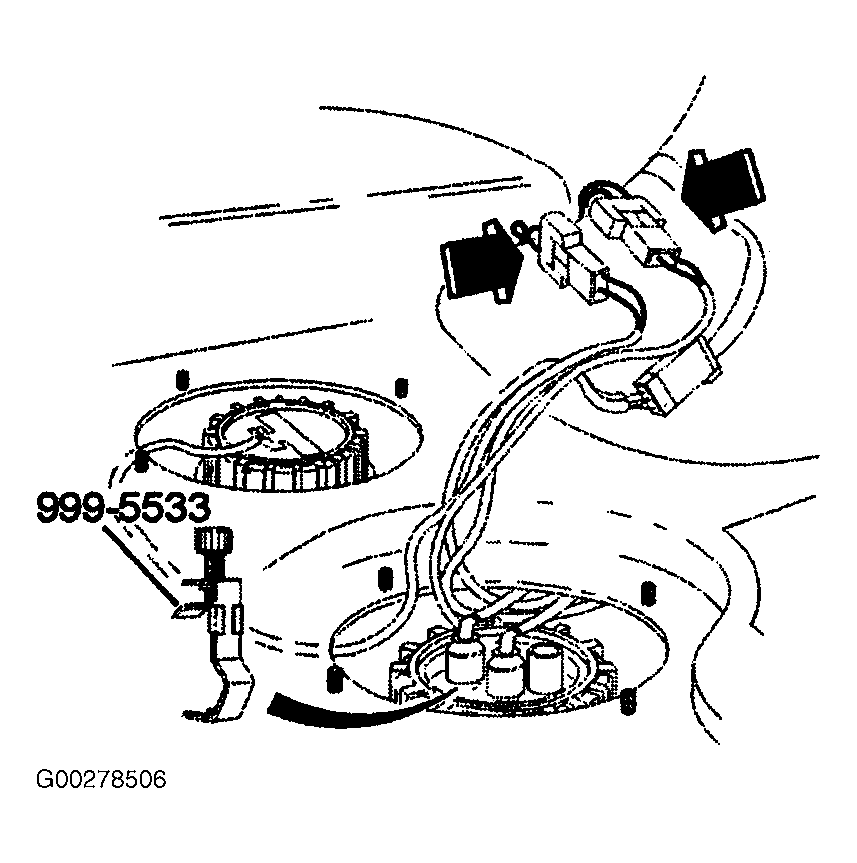
The delivery pipe is marked with yellow tape and the pump has a corresponding color marking.
- Disconnect hoses by separating connectors for fuel pump and level sensor. See Fig 3
. Check color markings on hoses and pump.
 Courtesy of VOLVO CARS OF NORTH AMERICA.
- Disconnect quick-release connectors on delivery and return hoses using Injector Valve Clamp (999 5533).
- Slide outer sleeve of connector upward avoiding squeezing sleeve.
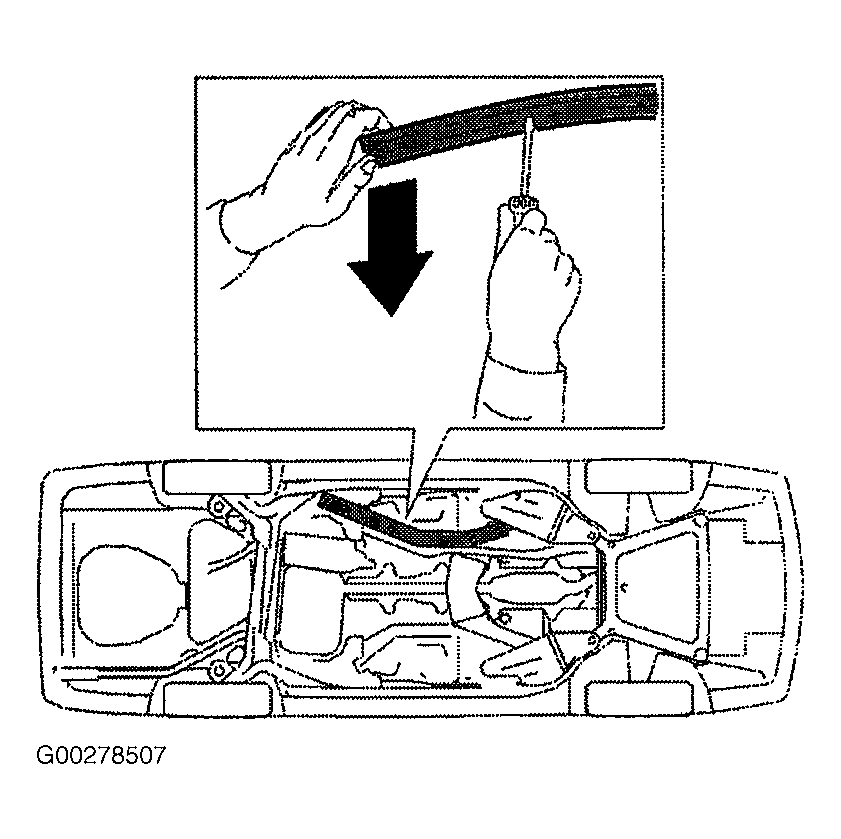
- Remove rail under fuel lines. Pull down on rail while simultaneously screwing out plastic nut. See Fig 4
. Reinstall nut by pressing against the neighbouring bolt and then tighten several times.
 Courtesy of VOLVO CARS OF NORTH AMERICA.
NOTE:
Use flat lifting table to avoid damage to internal tank components.
- Remove fuel tank. Remove circlip that tensions the rubber seal. See Fig 5
.
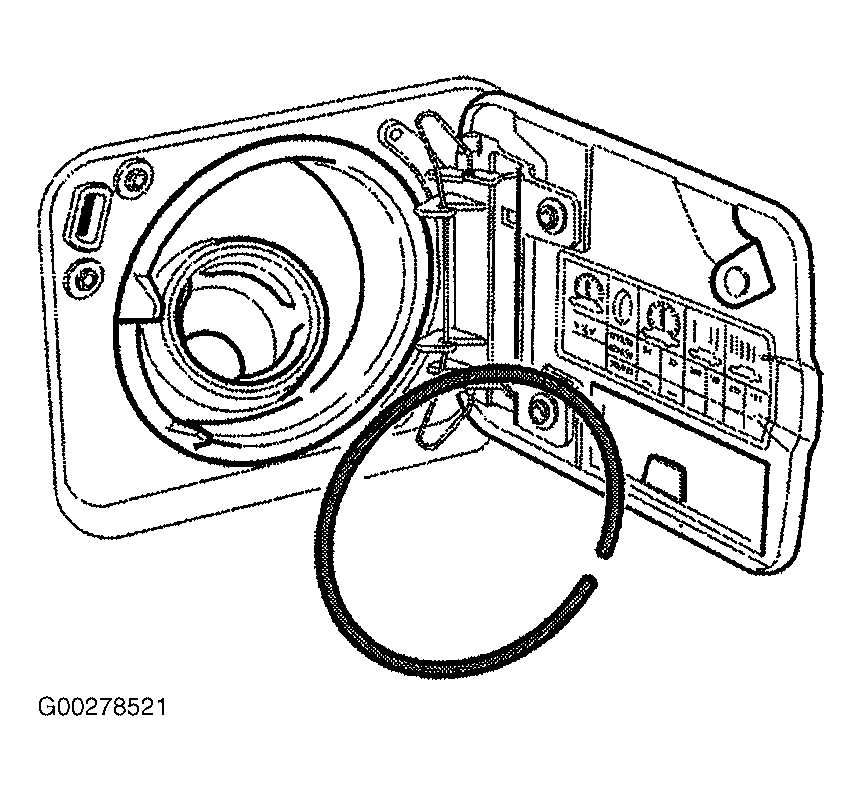 Courtesy of VOLVO CARS OF NORTH AMERICA.
- Remove tank cover and rubber seal. See Fig 6
. Position mobile jack with fixture using Fixture tool 999 5972. Undo tank retaining straps and lower tank slightly.
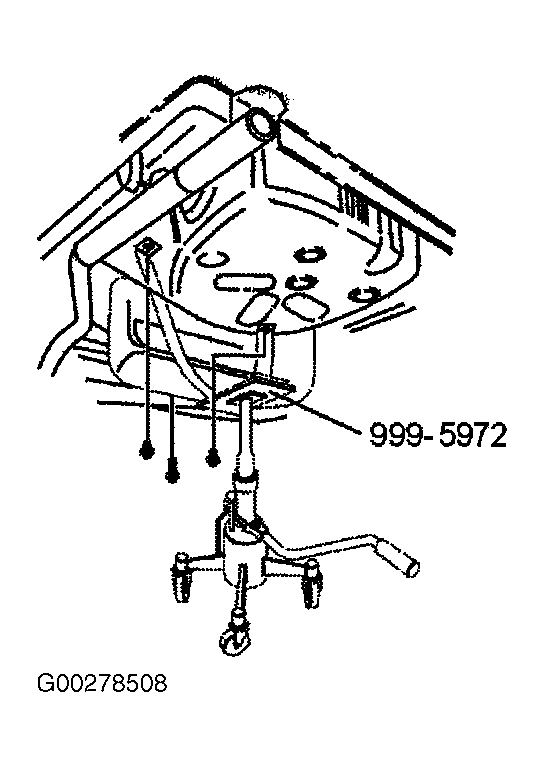 Courtesy of VOLVO CARS OF NORTH AMERICA.
- Remove hoses. Disconnect EVAP system. See Fig 7
. All hoses are secured in position by quick-release clip on top of tank. Use screwdriver to undo top end of clip. Lower tank.
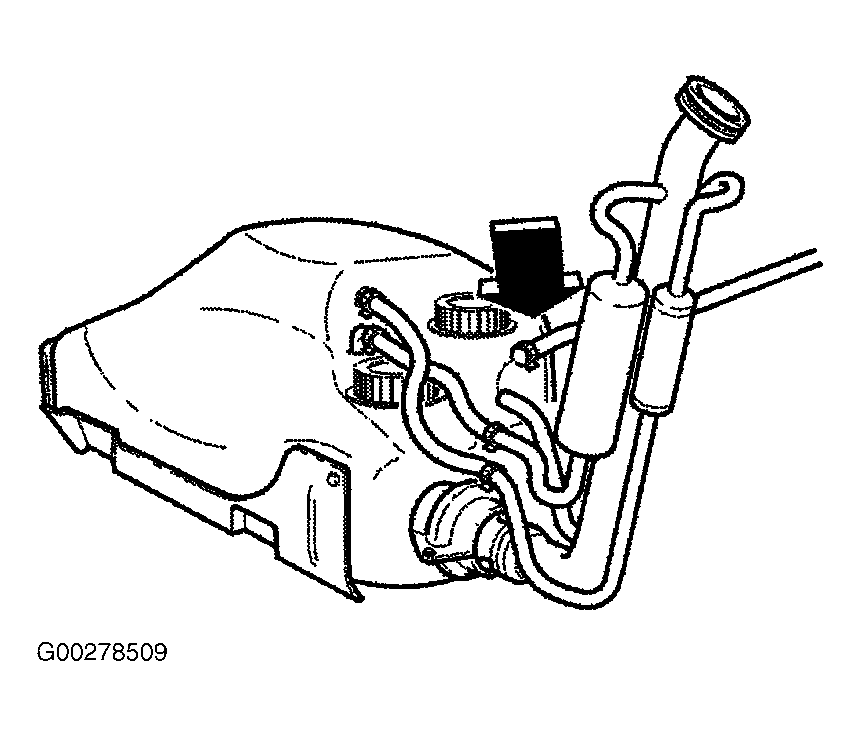 Courtesy of VOLVO CARS OF NORTH AMERICA.
- Remove the following:
- Two fuel tank hose connectors. See Fig 8
.
- Two screws on the flange retaining the fuel filler pipe.
- Pull out pipe with rubber seal and check valve.
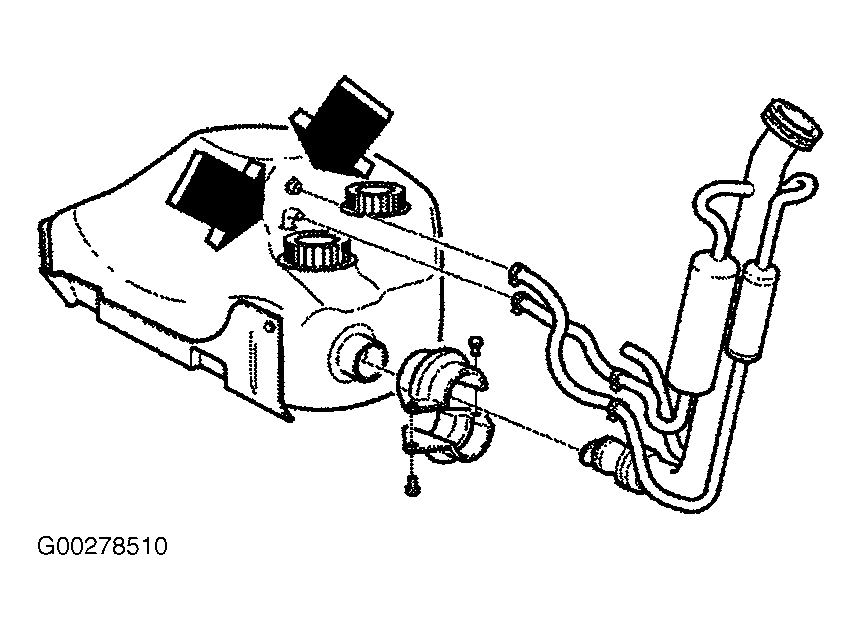 Courtesy of VOLVO CARS OF NORTH AMERICA.
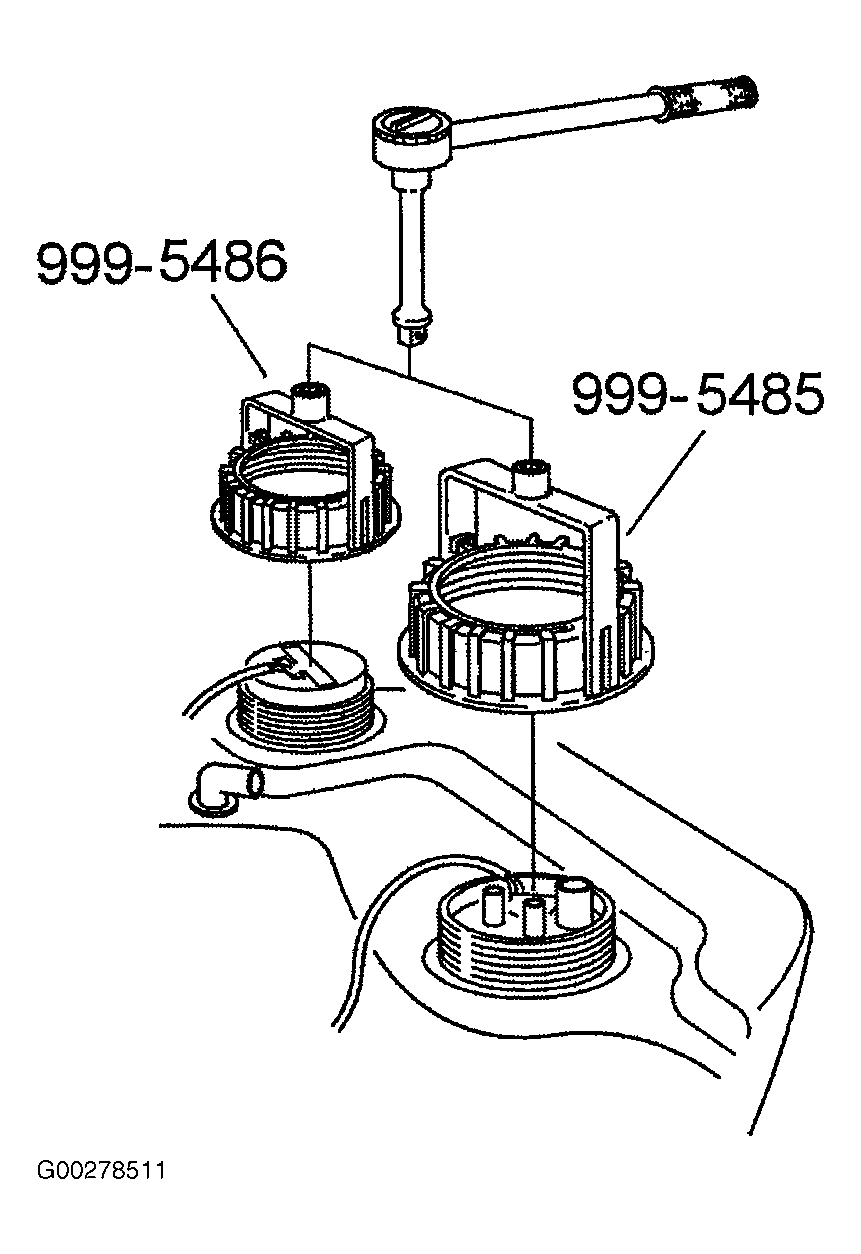
- Remove nuts securing level sensor and fuel pump using Level-Sensor Nut Wrench (999 5485) and Fuel-Pump Nut Wrench (999 5486). See Fig 9
.
 Courtesy of VOLVO CARS OF NORTH AMERICA.
CAUTION:
Lift unit straight up. Do not grip pipe connections with pliers or other sharp tool as damage to connections may result in leakage.
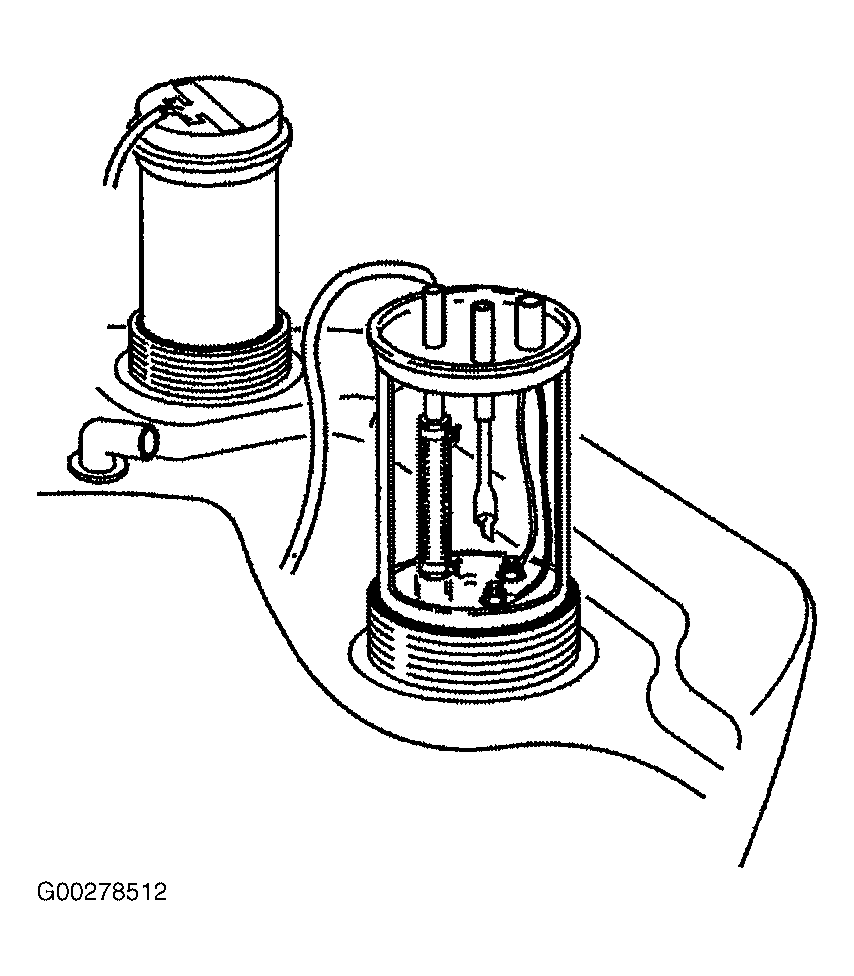
- Remove fuel pump unit and level sensor from tank. Remove seal. See Fig 10
.
 Courtesy of VOLVO CARS OF NORTH AMERICA.