- Remove the lower liftgate trim. See Trim - Liftgate - Lower (Remove and Replace)
.
- Remove the liftgate speaker grille. See Grille - Speaker - Liftgate (Remove and Replace)
.
- Remove the liftgate upper trim. See Trim - Upper - Liftgate (Remove and Replace)
.
- Remove the RH active spoiler catch basin cover. See Cover - Catch Basin - Active Spoiler - LH (Remove and Replace)
.
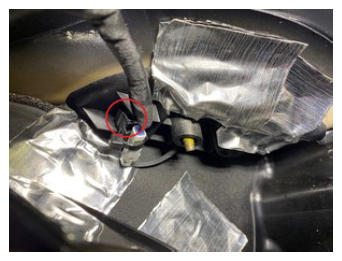
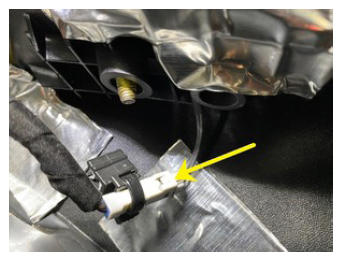
- Release the clip, and then disconnect the CHMSL electrical connector.
NOTE:
Release the clip from the liftgate assembly.
 Courtesy of TESLA, INC. Courtesy of TESLA, INC.
|
 Courtesy of TESLA, INC. Courtesy of TESLA, INC.
|
- Remove the LH active spoiler catch basin cover. See Cover - Catch Basin - Active Spoiler - LH (Remove and Replace)
.
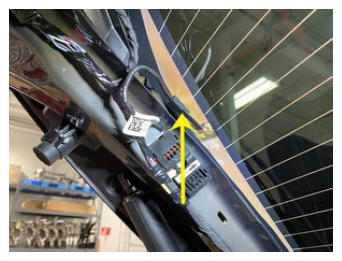
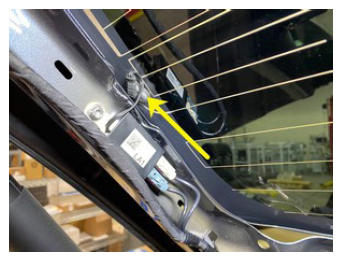
- Disconnect the defroster grid and antenna electrical connectors (x4) located on the LH and RH side of the backlight glass.
 Courtesy of TESLA, INC. Courtesy of TESLA, INC.
|
 Courtesy of TESLA, INC. Courtesy of TESLA, INC.
|
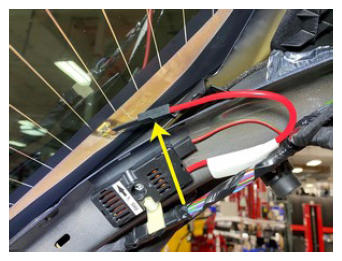 Courtesy of TESLA, INC. Courtesy of TESLA, INC.
|
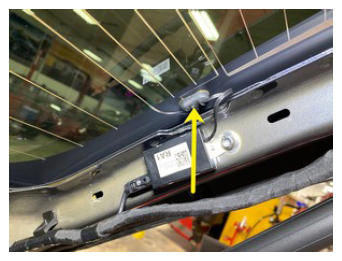 Courtesy of TESLA, INC. Courtesy of TESLA, INC.
|
- Close the liftgate.
- Apply masking tape to areas around the liftgate and the active spoiler to prevent damage to the vehicle.
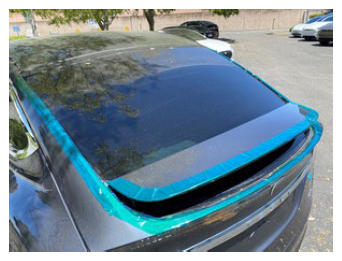 Courtesy of TESLA, INC. Courtesy of TESLA, INC.
|
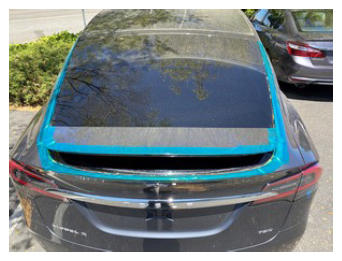 Courtesy of TESLA, INC. Courtesy of TESLA, INC.
|
- Remove the spoiler applique. See Applique - Spoiler (Remove and Install)
.
- Clean and remove excess urethane from the surface of the spoiler lower wing assembly.
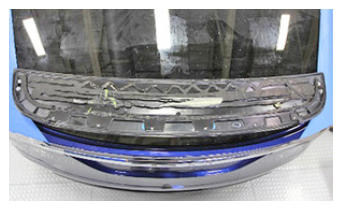 Courtesy of TESLA, INC. Courtesy of TESLA, INC.
|
- Release the CHMSL electrical harness from the lower spoiler wing assembly.
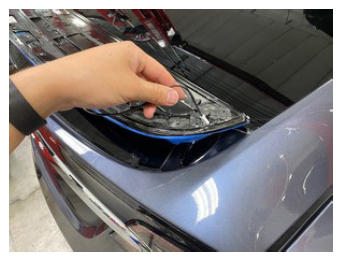 Courtesy of TESLA, INC. Courtesy of TESLA, INC.
|
- Clean and remove excess urethane from underneath of the passive spoiler upper wing.
NOTE:
Place passive spoiler upper wing onto a soft surface and carefully remove the excess urethane.
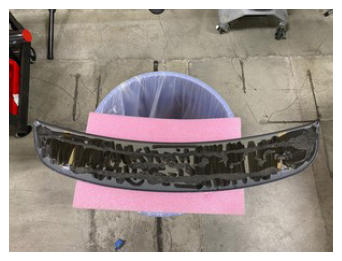 Courtesy of TESLA, INC. Courtesy of TESLA, INC.
|
- Remove the screws (x4) that attach the passive spoiler assembly.
NOTE:
T30. Torque 6 N.m.
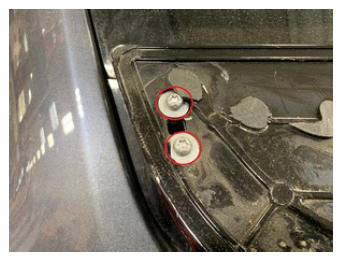 Courtesy of TESLA, INC. Courtesy of TESLA, INC.
|
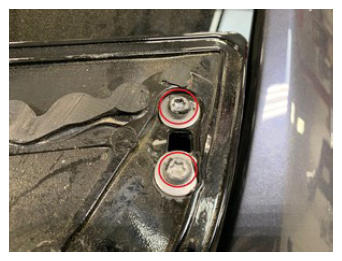 Courtesy of TESLA, INC. Courtesy of TESLA, INC.
|
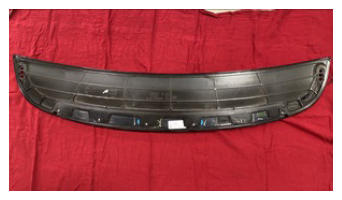 Courtesy of TESLA, INC. Courtesy of TESLA, INC.
|
- Open the liftgate.
- Remove the LH pushpin clips (x3) that attach the liftgate side pinch sensor.
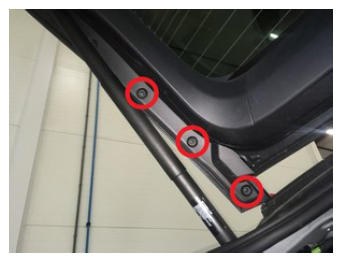 Courtesy of TESLA, INC. Courtesy of TESLA, INC.
|
- Remove the RH pushpin clips (x3) that attach the liftgate side pinch sensor.
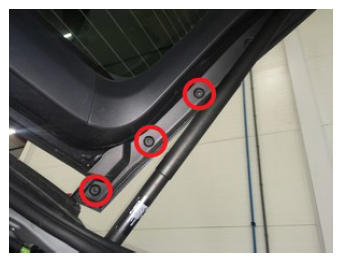 Courtesy of TESLA, INC. Courtesy of TESLA, INC.
|
- Disconnect the upper rear liftgate pinch strip connector on the LH side of the rear liftgate.
NOTE:
Tape the harnesses to the liftgate to secure aside.
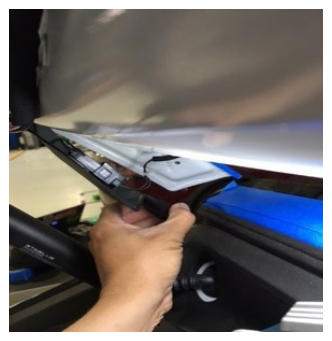 Courtesy of TESLA, INC. Courtesy of TESLA, INC.
|
- Remove the front liftgate pinch sensor from backlight glass.
NOTE:
Pinch sensor is adhered with double sided tape.
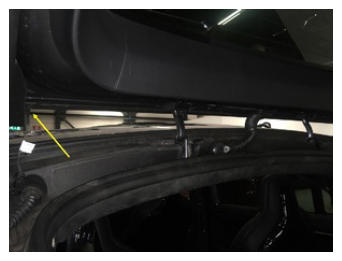 Courtesy of TESLA, INC. Courtesy of TESLA, INC.
|
- Use equalizer blade to cut the adhesive on the top portion of backlight glass on liftgate assembly.
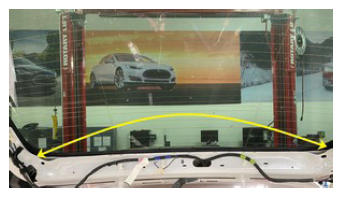 Courtesy of TESLA, INC. Courtesy of TESLA, INC.
|
- Cut an appropriate length of square wire.
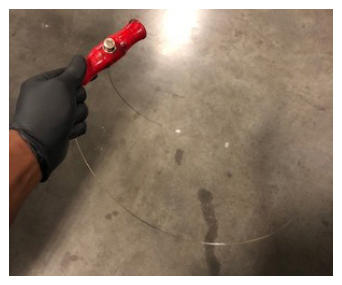 Courtesy of TESLA, INC. Courtesy of TESLA, INC.
|
 Courtesy of TESLA, INC. Courtesy of TESLA, INC.
|
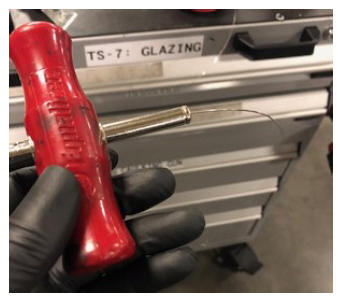
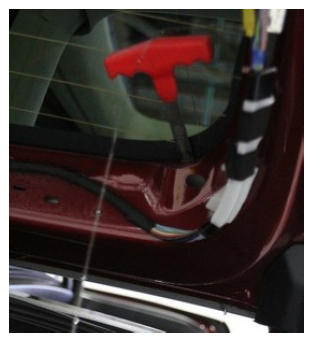
- Insert the wire starter through the adhesive near one of the upper corner.
NOTE:
Pull the wire through and remove the wire installer tool from the liftgate glass.
 Courtesy of TESLA, INC. Courtesy of TESLA, INC.
|
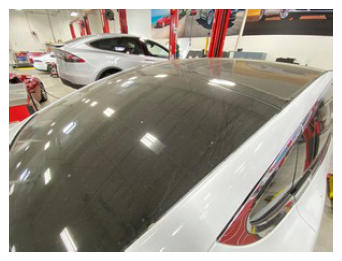
- Close the liftgate with an assistant inside.
 Courtesy of TESLA, INC. Courtesy of TESLA, INC.
|
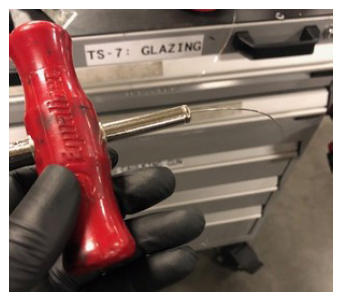
- Connect the T-handles to the wire.
 Courtesy of TESLA, INC. Courtesy of TESLA, INC.
|
- Use T-handles to cut the urethane securing the backlight glass to the liftgate.
CAUTION:
Use protective material to prevent damage.
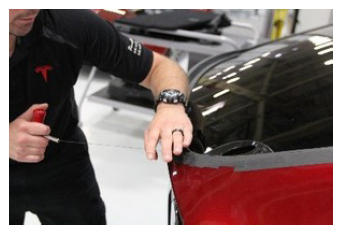 Courtesy of TESLA, INC. Courtesy of TESLA, INC.
|
- With an assistant, attach suction cups (x2) to the backlight glass, and then lift up to remove the backlight glass from the liftgate assembly.
NOTE:
1 suction cup each side.
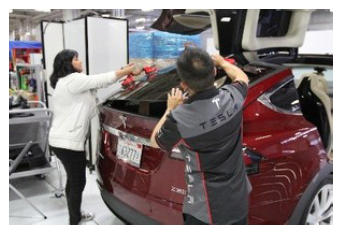 Courtesy of TESLA, INC. Courtesy of TESLA, INC.
|
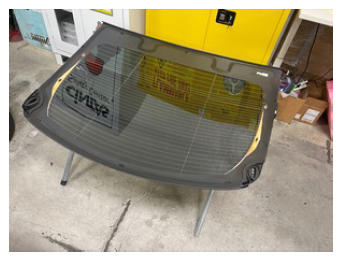 Courtesy of TESLA, INC. Courtesy of TESLA, INC.
|