- Clean and remove the old adhesive from the backlight frame.
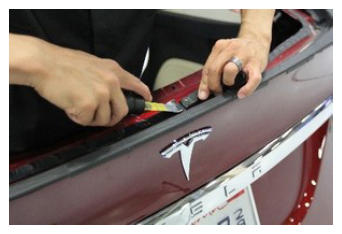 Courtesy of TESLA, INC. Courtesy of TESLA, INC.
|
- Remove the masking tape from the liftgate assembly.
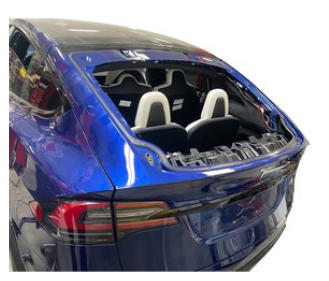 Courtesy of TESLA, INC. Courtesy of TESLA, INC.
|
- Inspect the backlight glass for any damage that is not serviceable.
NOTE:
Replace the backlight glass if there is any damage that cannot be rectified. Damages include cracked glass and damaged heater grid.
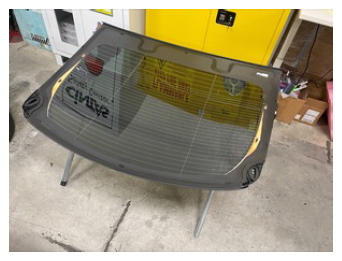 Courtesy of TESLA, INC. Courtesy of TESLA, INC.
|
- Remove the urethane bead from the backlight glass.
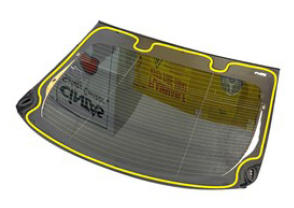 Courtesy of TESLA, INC. Courtesy of TESLA, INC.
|
- Use an IPA wipe to clean the urethane path on the backlight glass assembly.
NOTE:
Allow 1 minute for dry time.
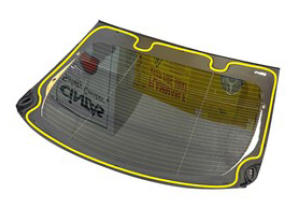 Courtesy of TESLA, INC. Courtesy of TESLA, INC.
|
- Apply the primer onto the backlight glass assembly.
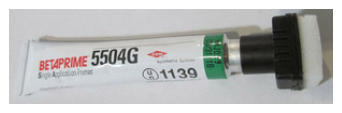 Courtesy of TESLA, INC. Courtesy of TESLA, INC.
|
- Prepare the caulking gun and urethane.
NOTE:
Opening must be 8 mm wide and 14 mm tall.
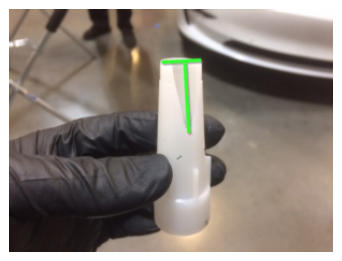 Courtesy of TESLA, INC. Courtesy of TESLA, INC.
|
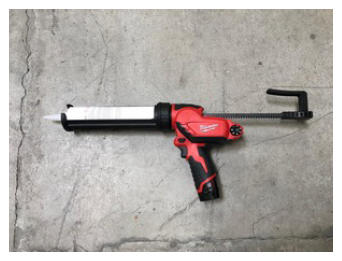 Courtesy of TESLA, INC. Courtesy of TESLA, INC.
|
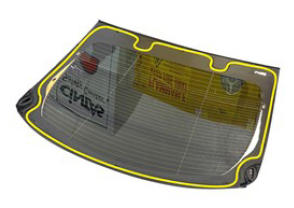
- Apply the urethane following the primer path on the backlight glass assembly.
 Courtesy of TESLA, INC. Courtesy of TESLA, INC.
|
 Courtesy of TESLA, INC. Courtesy of TESLA, INC.
|
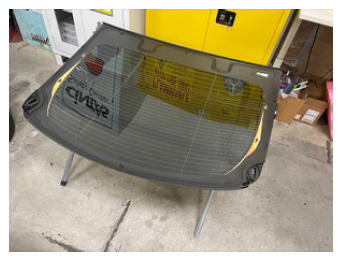
- Install suction cups (x2) onto the backlight glass assembly.
NOTE:
1 suction cup on each side of the backlight glass.
 Courtesy of TESLA, INC. Courtesy of TESLA, INC.
|
 Courtesy of TESLA, INC. Courtesy of TESLA, INC.
|
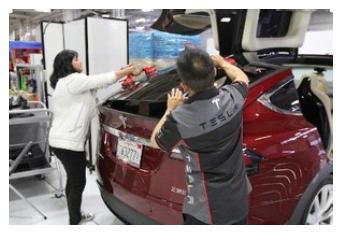
- With an assistant, install the backlight glass onto the liftgate assembly.
NOTE:
Locating pins (x2).
 Courtesy of TESLA, INC. Courtesy of TESLA, INC.
|
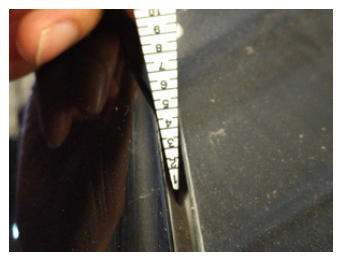
- Check the gap and flush measurements.
NOTE:
Use the current CVIS specifications.
 Courtesy of TESLA, INC. Courtesy of TESLA, INC.
|
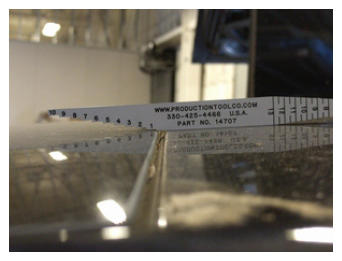 Courtesy of TESLA, INC. Courtesy of TESLA, INC.
|
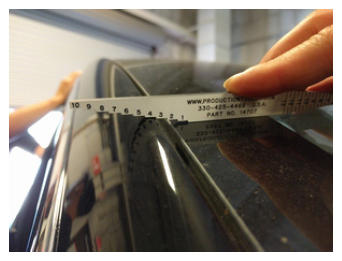 Courtesy of TESLA, INC. Courtesy of TESLA, INC.
|
- Apply tape to secure the backlight glass to the body while the urethane cures.
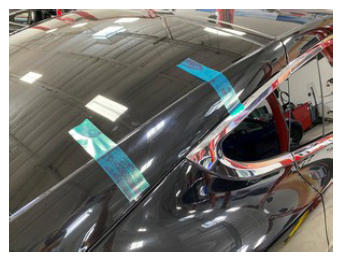 Courtesy of TESLA, INC. Courtesy of TESLA, INC.
|
- Remove the suction cups from the backlight glass assembly.
- Install the screws (x4) that attach the spoiler assembly.
NOTE:
T30. Torque 6 N.m.
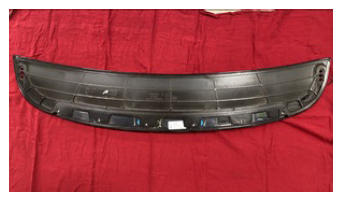 Courtesy of TESLA, INC. Courtesy of TESLA, INC.
|
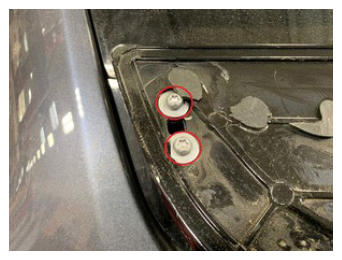 Courtesy of TESLA, INC. Courtesy of TESLA, INC.
|
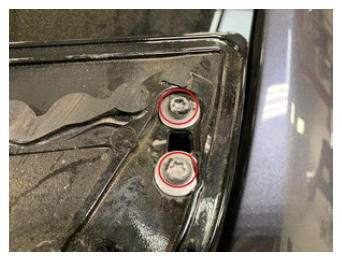 Courtesy of TESLA, INC. Courtesy of TESLA, INC.
|
- Install the spoiler applique. See Applique - Spoiler (Remove and Install)
.
- Open the liftgate.
- Connect the defroster grid and antenna electrical connectors (x4) on RH and LH sides.
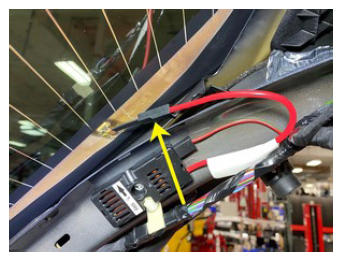 Courtesy of TESLA, INC. Courtesy of TESLA, INC.
|
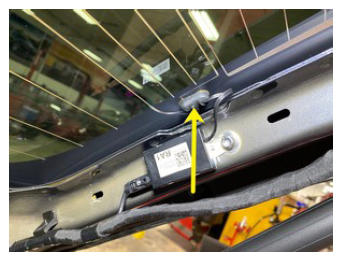 Courtesy of TESLA, INC. Courtesy of TESLA, INC.
|
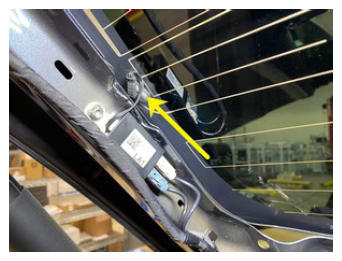 Courtesy of TESLA, INC. Courtesy of TESLA, INC.
|
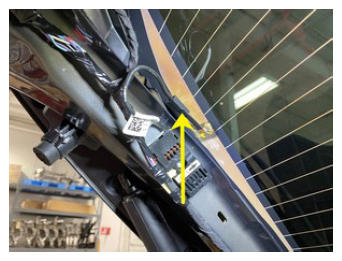 Courtesy of TESLA, INC. Courtesy of TESLA, INC.
|
- Install the clip and connect the electrical harness to the CHMSL assembly.
NOTE:
Secure the clip onto the liftgate assembly.
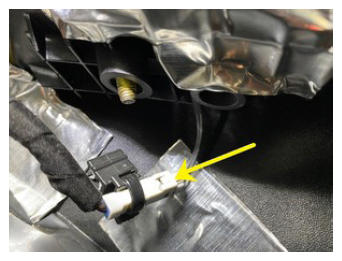 Courtesy of TESLA, INC. Courtesy of TESLA, INC.
|
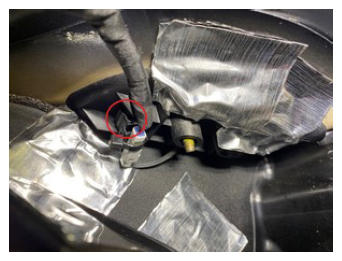 Courtesy of TESLA, INC. Courtesy of TESLA, INC.
|
- Install the LH active spoiler catch basin cover. See Cover - Catch Basin - Active Spoiler - LH (Remove and Replace)
.
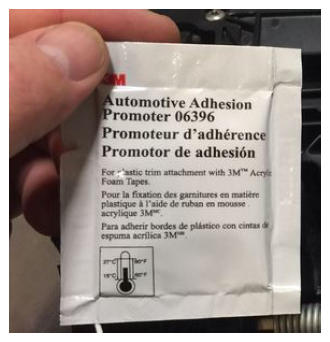
- Apply adhesive promoter to the rear upper edge of the liftgate glass.
NOTE:
Allow it to dry to the touch.
 Courtesy of TESLA, INC. Courtesy of TESLA, INC.
|
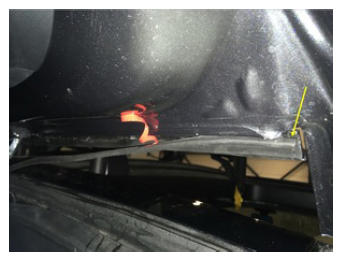
- Position the pinch sensor through the upper liftgate, and then set into place.
NOTE:
Make sure the connector is on the left side of the vehicle and align the sensor end with the sensor carrier. Peel the red backing from the double sided tape piece for piece while installing.
 Courtesy of TESLA, INC. Courtesy of TESLA, INC.
|
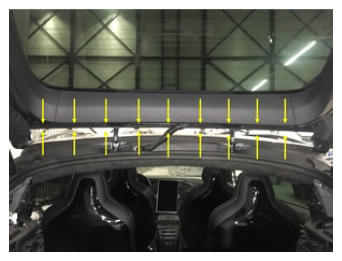
- Remove the adhesive tape backing from the pinch sensor, and then start attaching the sensor onto the rear liftgate glass.
NOTE:
Start on the right side moving to the left.
 Courtesy of TESLA, INC. Courtesy of TESLA, INC.
|
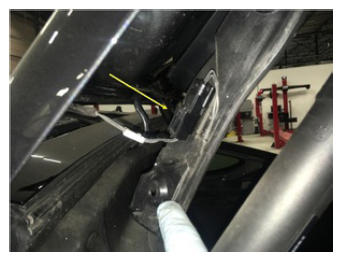
- Connect the front liftgate pinch sensor to the LH side pinch sensor assembly.
 Courtesy of TESLA, INC. Courtesy of TESLA, INC.
|
- Install the LH pushpin clips (x3) that attach the liftgate side pinch sensor.
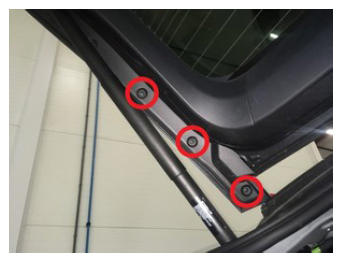 Courtesy of TESLA, INC. Courtesy of TESLA, INC.
|
- Install the RH pushpin clips (x3) that attach the liftgate side pinch sensor.
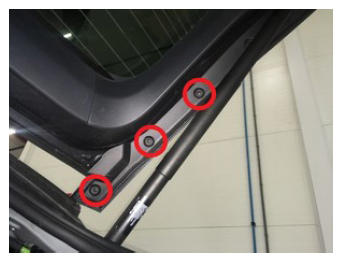 Courtesy of TESLA, INC. Courtesy of TESLA, INC.
|
- Install the liftgate upper trim. See Trim - Upper - Liftgate (Remove and Replace)
.
- Install the liftgate speaker grille. See Grille - Speaker - Liftgate (Remove and Replace)
.
- Install the lower liftgate trim. See Trim - Liftgate - Lower (Remove and Replace)
.