- Perform Four Wheel Alignment Check and Adjust (with Air Suspension).
NOTE:
Per current Model S FRT (31000100) 1.2 hours.
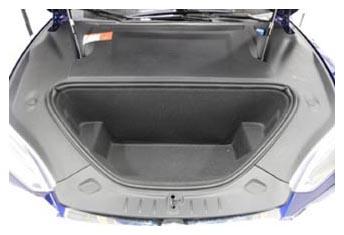
- Open hood.
NOTE:
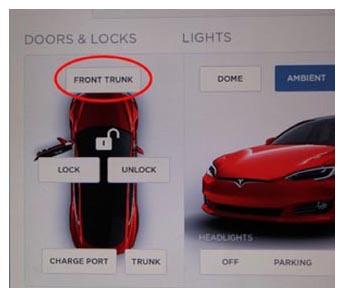
Using MCU touchscreen > Controls > Frunk Trunk.
 Courtesy of TESLA, INC. Courtesy of TESLA, INC.
|
 Courtesy of TESLA, INC. Courtesy of TESLA, INC.
|
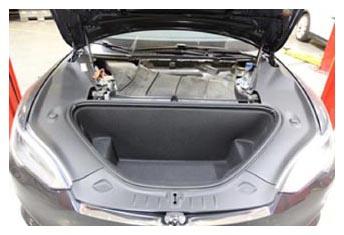
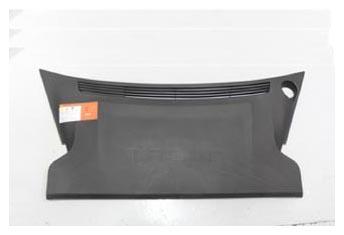
- Remove rear underhood apron.
NOTE:
8x clips.
 Courtesy of TESLA, INC. Courtesy of TESLA, INC.
|
 Courtesy of TESLA, INC. Courtesy of TESLA, INC.
|
- Remove LH underhood apron.
NOTE:
9x clips.
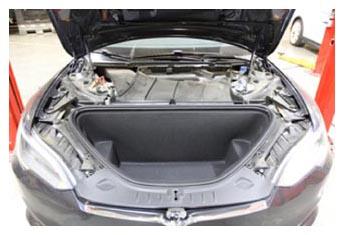 Courtesy of TESLA, INC. Courtesy of TESLA, INC.
|
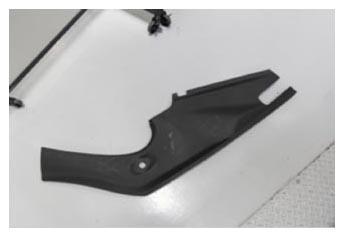 Courtesy of TESLA, INC. Courtesy of TESLA, INC.
|
- Remove RH underhood apron.
NOTE:
9x clips.
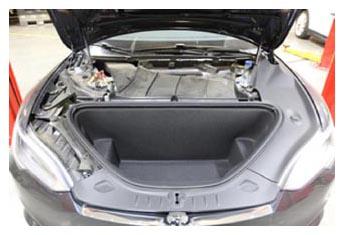 Courtesy of TESLA, INC. Courtesy of TESLA, INC.
|
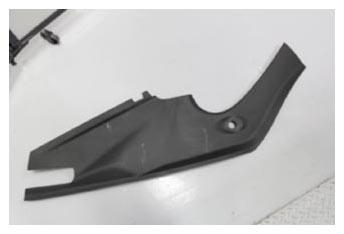 Courtesy of TESLA, INC. Courtesy of TESLA, INC.
|
- Remove front underhood apron.
NOTE:
7x clips.
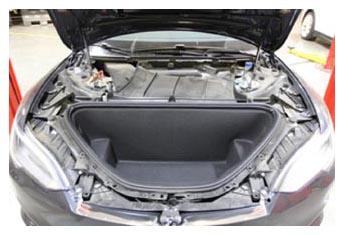 Courtesy of TESLA, INC. Courtesy of TESLA, INC.
|
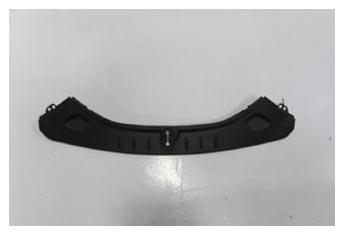 Courtesy of TESLA, INC. Courtesy of TESLA, INC.
|
- Release drainage hoses from HEPA filter inlet duct.
NOTE:
2x hoses.
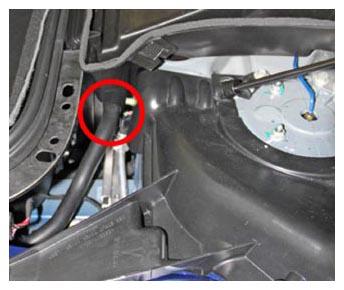 Courtesy of TESLA, INC. Courtesy of TESLA, INC.
|
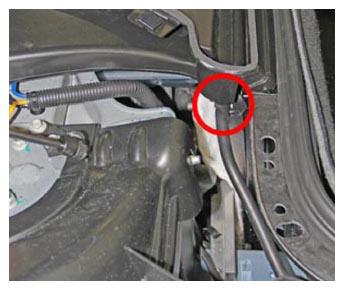 Courtesy of TESLA, INC. Courtesy of TESLA, INC.
|
- Remove clips securing HEPA filter inlet duct to cowl panel.
NOTE:
3x push clips.
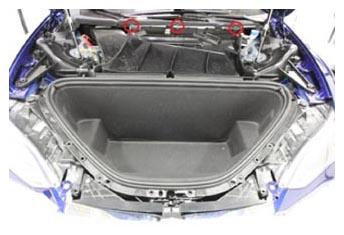 Courtesy of TESLA, INC. Courtesy of TESLA, INC.
|
- Remove HEPA filter inlet duct.
NOTE:
2x clips on HEPA filter.
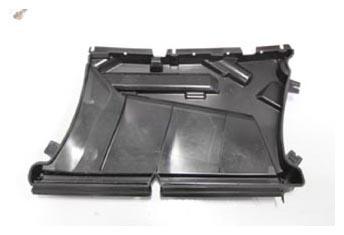 Courtesy of TESLA, INC. Courtesy of TESLA, INC.
|
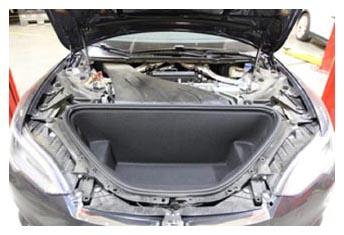 Courtesy of TESLA, INC. Courtesy of TESLA, INC.
|
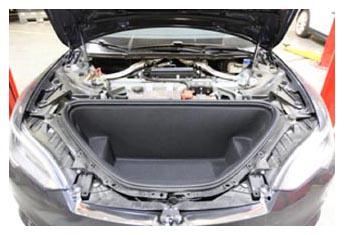
- Remove HEPA filter outlet duct from vehicle.
NOTE:
Lift up, pull towards front of vehicle, then rotate clockwise.
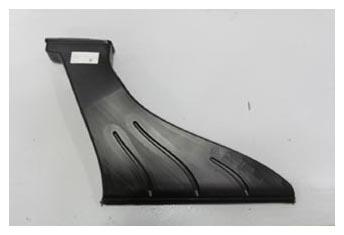 Courtesy of TESLA, INC. Courtesy of TESLA, INC.
|
 Courtesy of TESLA, INC. Courtesy of TESLA, INC.
|
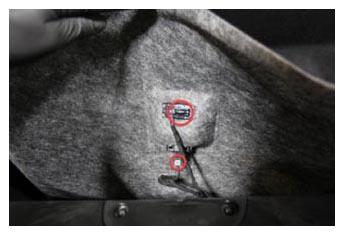
- Disconnect light and release switch connectors and remove underhood storage carpet.
NOTE:
2x connectors, Release edge of carpet from underneath underhood storage unit seal.
 Courtesy of TESLA, INC. Courtesy of TESLA, INC.
|
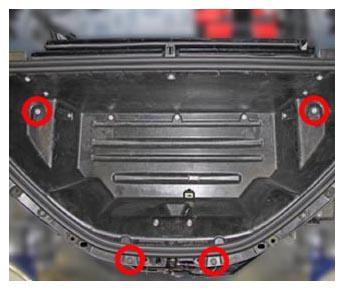
- Remove bolts and clips securing underhood storage unit.
NOTE:
2x bolts, 10 mm, 7 N.m, 2x push clips.
 Courtesy of TESLA, INC. Courtesy of TESLA, INC.
|
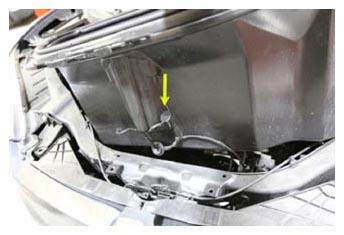
- Push wiring harness grommet through underhood storage unit and remove.
NOTE:
1x grommet.
 Courtesy of TESLA, INC. Courtesy of TESLA, INC.
|
- Apply masking tape to protect LH and RH front fender.
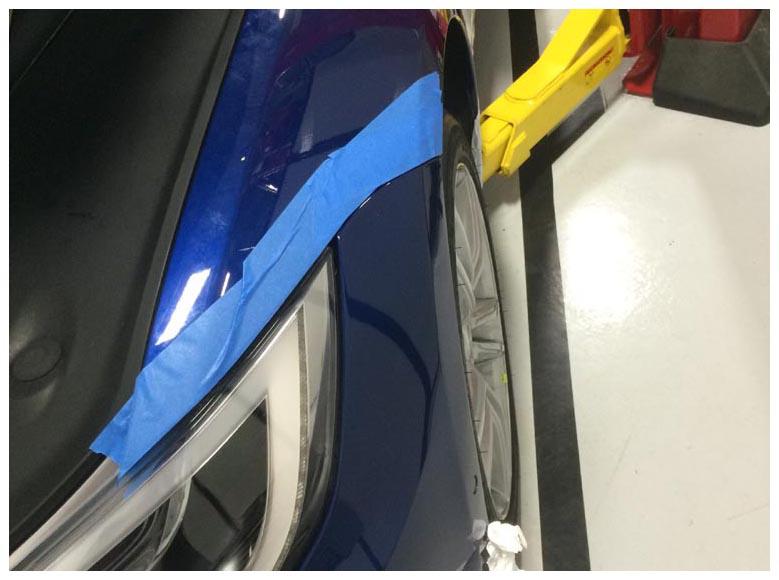 Courtesy of TESLA, INC. Courtesy of TESLA, INC.
|
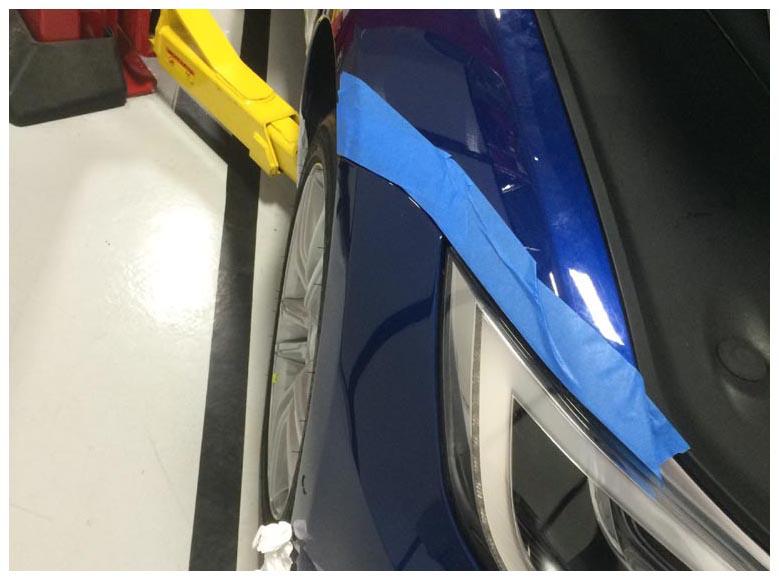 Courtesy of TESLA, INC. Courtesy of TESLA, INC.
|
- Disconnect fascia harness and release edge clip.
NOTE:
1x edge clip, 2x connectors.
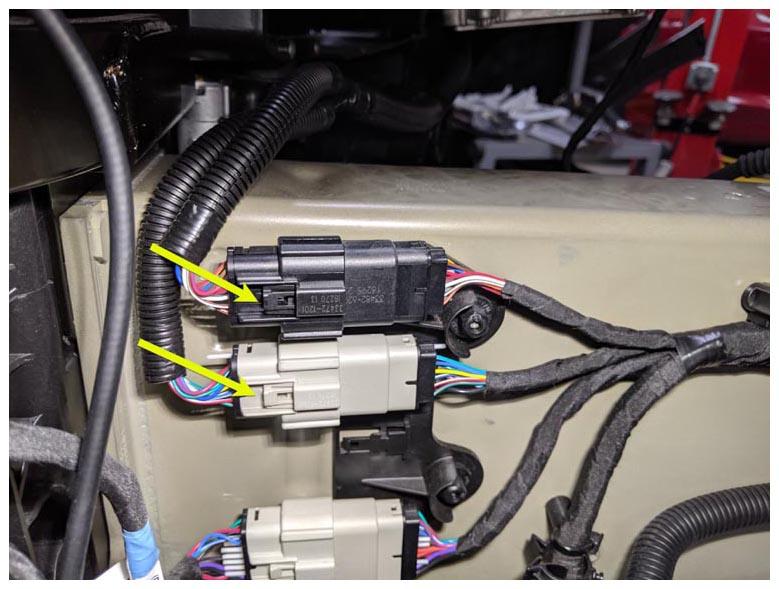 Courtesy of TESLA, INC. Courtesy of TESLA, INC.
|
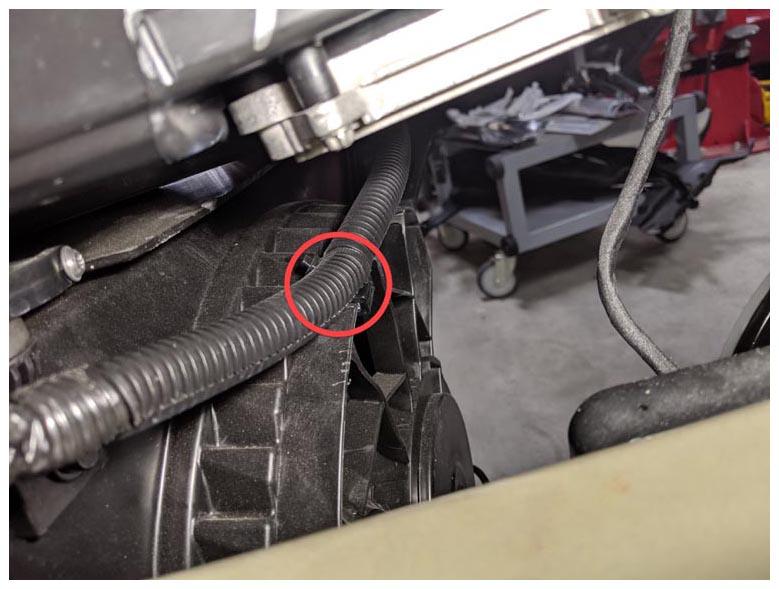 Courtesy of TESLA, INC. Courtesy of TESLA, INC.
|
- Remove bolts securing LH fascia bracket to carrier.
NOTE:
2x bolts, 10 mm, 4 N.m.
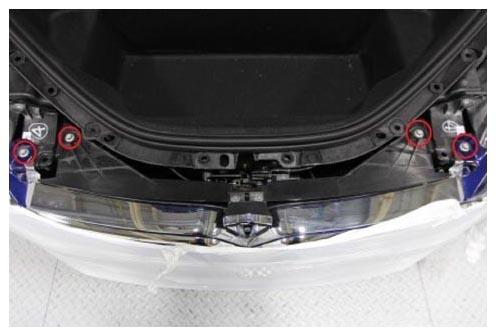 Courtesy of TESLA, INC. Courtesy of TESLA, INC.
|
- Remove bolts securing fascia to RH carrier.
NOTE:
2x bolts, 10 mm, 4 N.m.
- Remove screw securing front fascia to LH fender bracket.
NOTE:
1x screw, T25, 1.5 N.m.
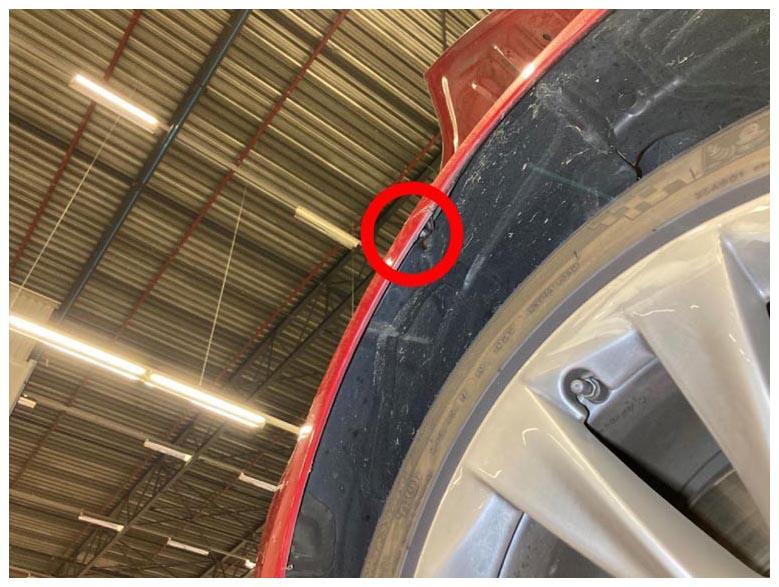 Courtesy of TESLA, INC. Courtesy of TESLA, INC.
|
- Remove screws and clips securing fascia to front aero shield.
NOTE:
2x bolts, 10 mm, 4 N.m, 6x push clips.
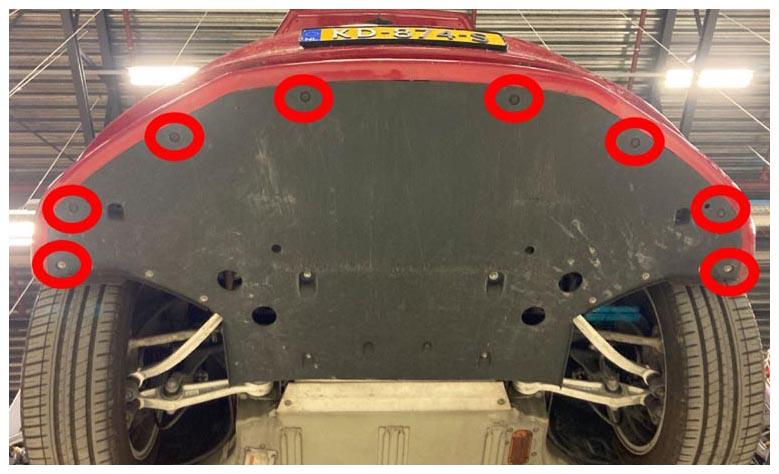 Courtesy of TESLA, INC. Courtesy of TESLA, INC.
|
- Release fascia from fender brackets and pull forward to remove from vehicle.
NOTE:
Set fascia on protected surface, Recommend assistance.
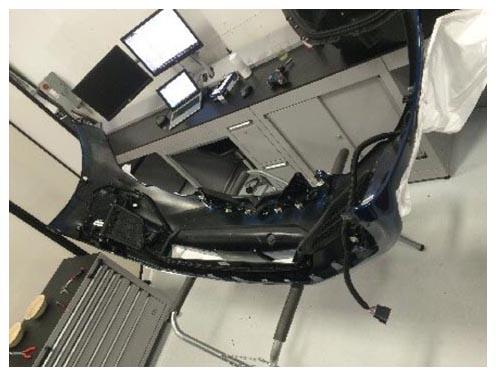 Courtesy of TESLA, INC. Courtesy of TESLA, INC.
|
- Between the 2 ball joints, carefully pry the radar housing away from the bracket before disconnecting.
NOTE:
3x Ball Joint, Take care not to damage the face of the radar.
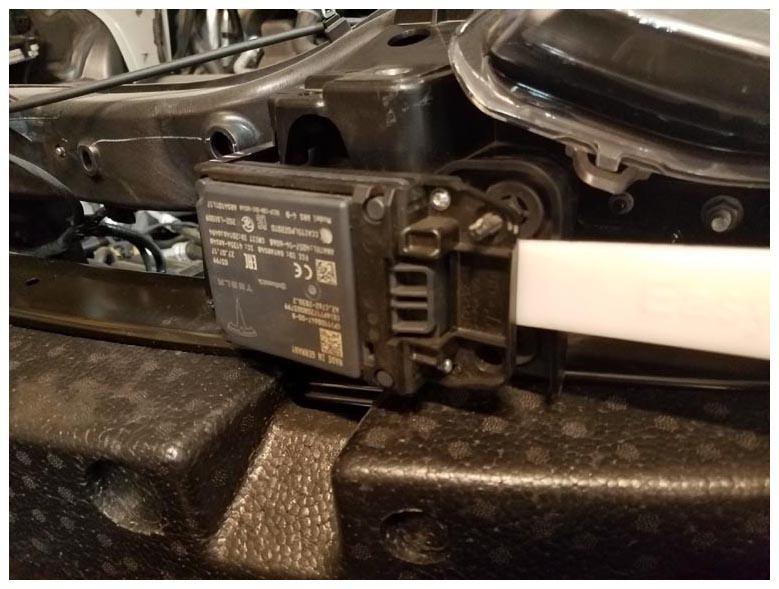 Courtesy of TESLA, INC. Courtesy of TESLA, INC.
|
- Support the assembly and disconnect the radar connector.
NOTE:
1x Connector.
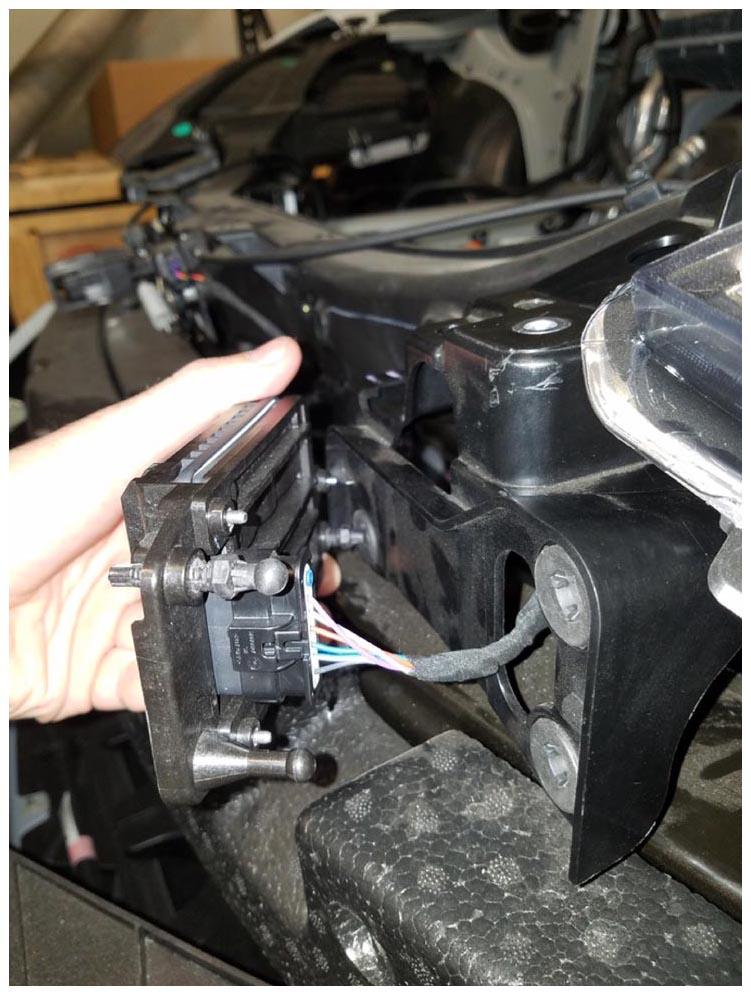 Courtesy of TESLA, INC. Courtesy of TESLA, INC.
|
- Remove the radar housing back plate.
NOTE:
3x bolts, T10, 0.8 N.m.
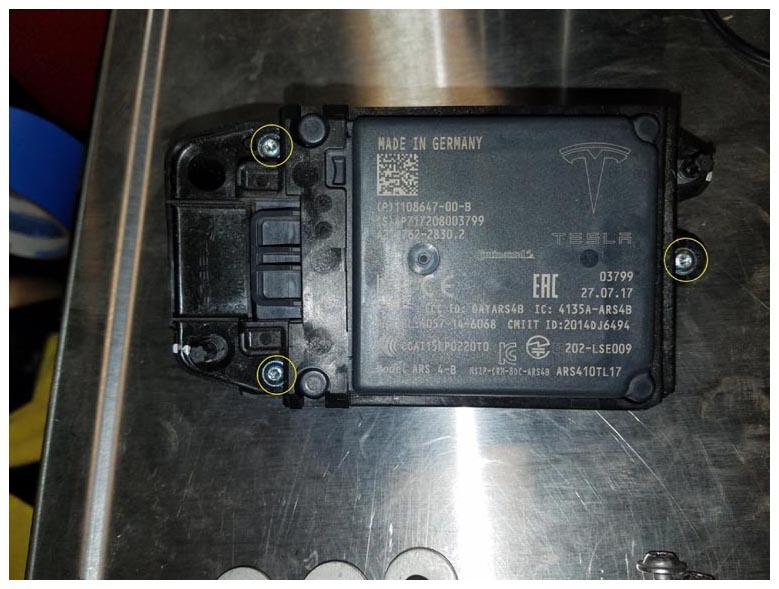 Courtesy of TESLA, INC. Courtesy of TESLA, INC.
|
- Remove the radar from the housing.