Fuel Tank: Installation
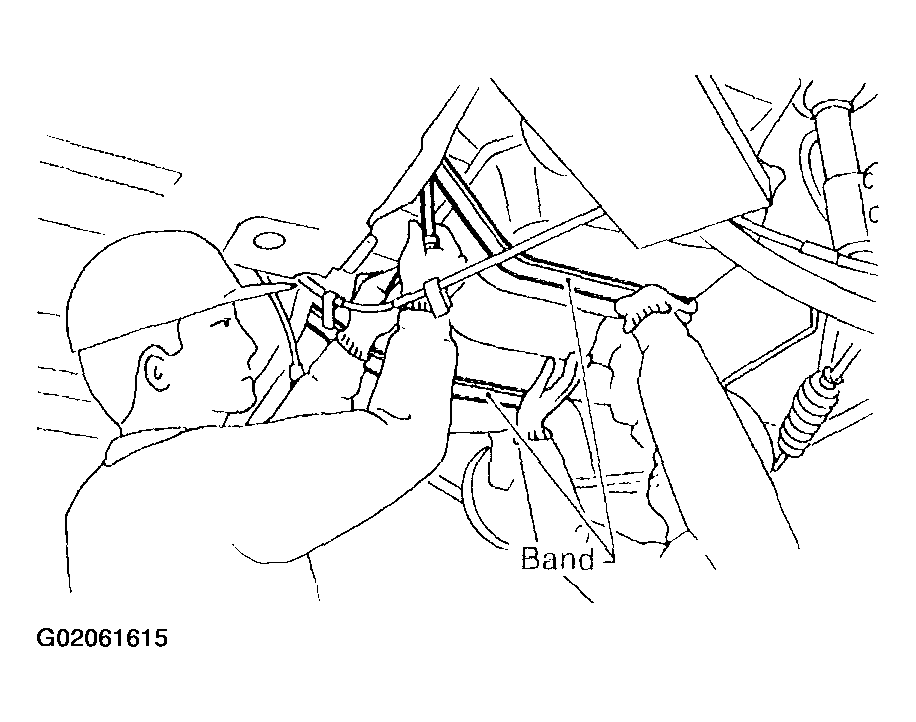
- While a helper holds fuel tank, push fuel tank harness into access hole with grommet.
 Courtesy of SUBARU OF AMERICA, INC.
- Set fuel tank, and temporary tighten bolts in order to install fuel tank bands.
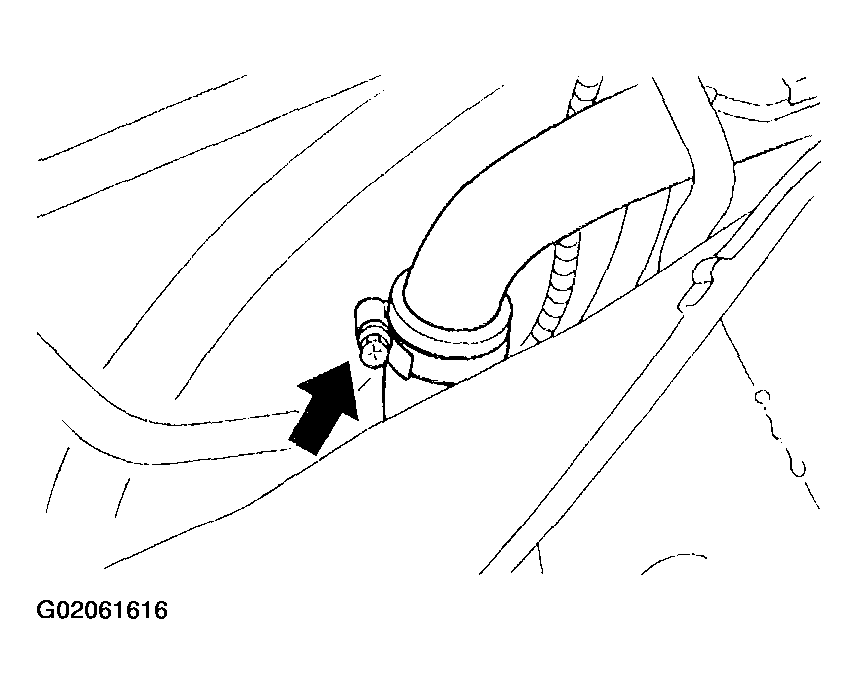
- Connect fuel filler hose, and tighten clamp.
 Courtesy of SUBARU OF AMERICA, INC.
- Connect fuel hoses, and hold then with clips and quick connector.
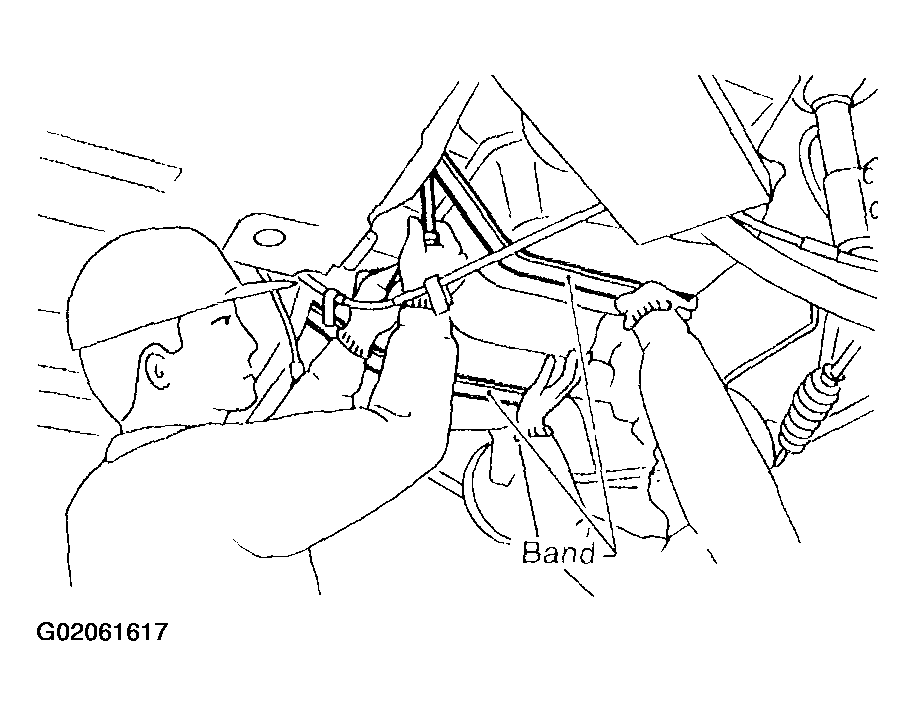
- Tighten band mounting bolts.
- Tightening torque:
33 N.m (3.4 kgf-m, 25 ft-lb)
 Courtesy of SUBARU OF AMERICA, INC.
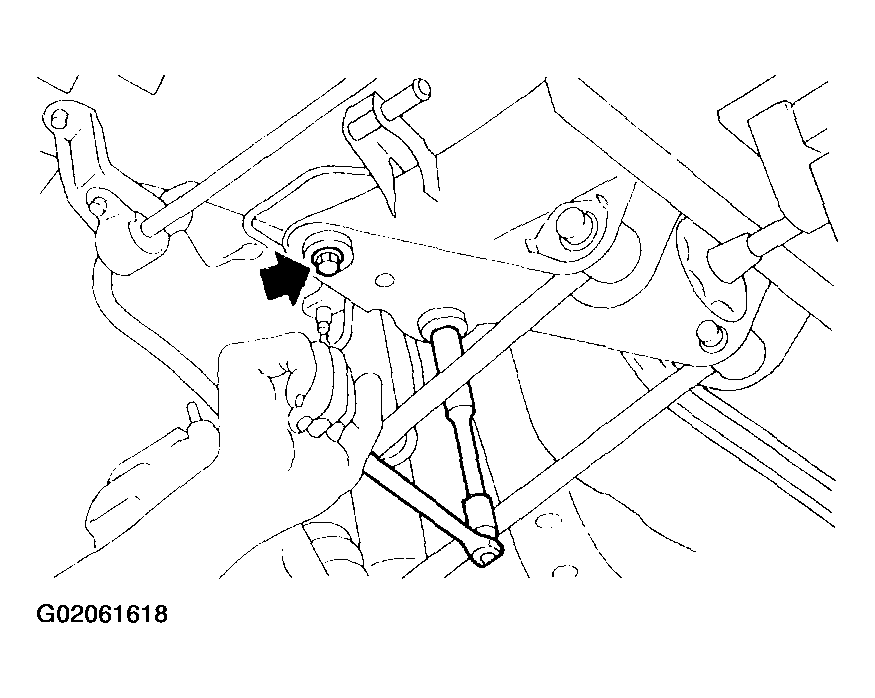
- Install rear crossmember. See CROSSMEMBER (SUBFRAME)
.
 Courtesy of SUBARU OF AMERICA, INC.
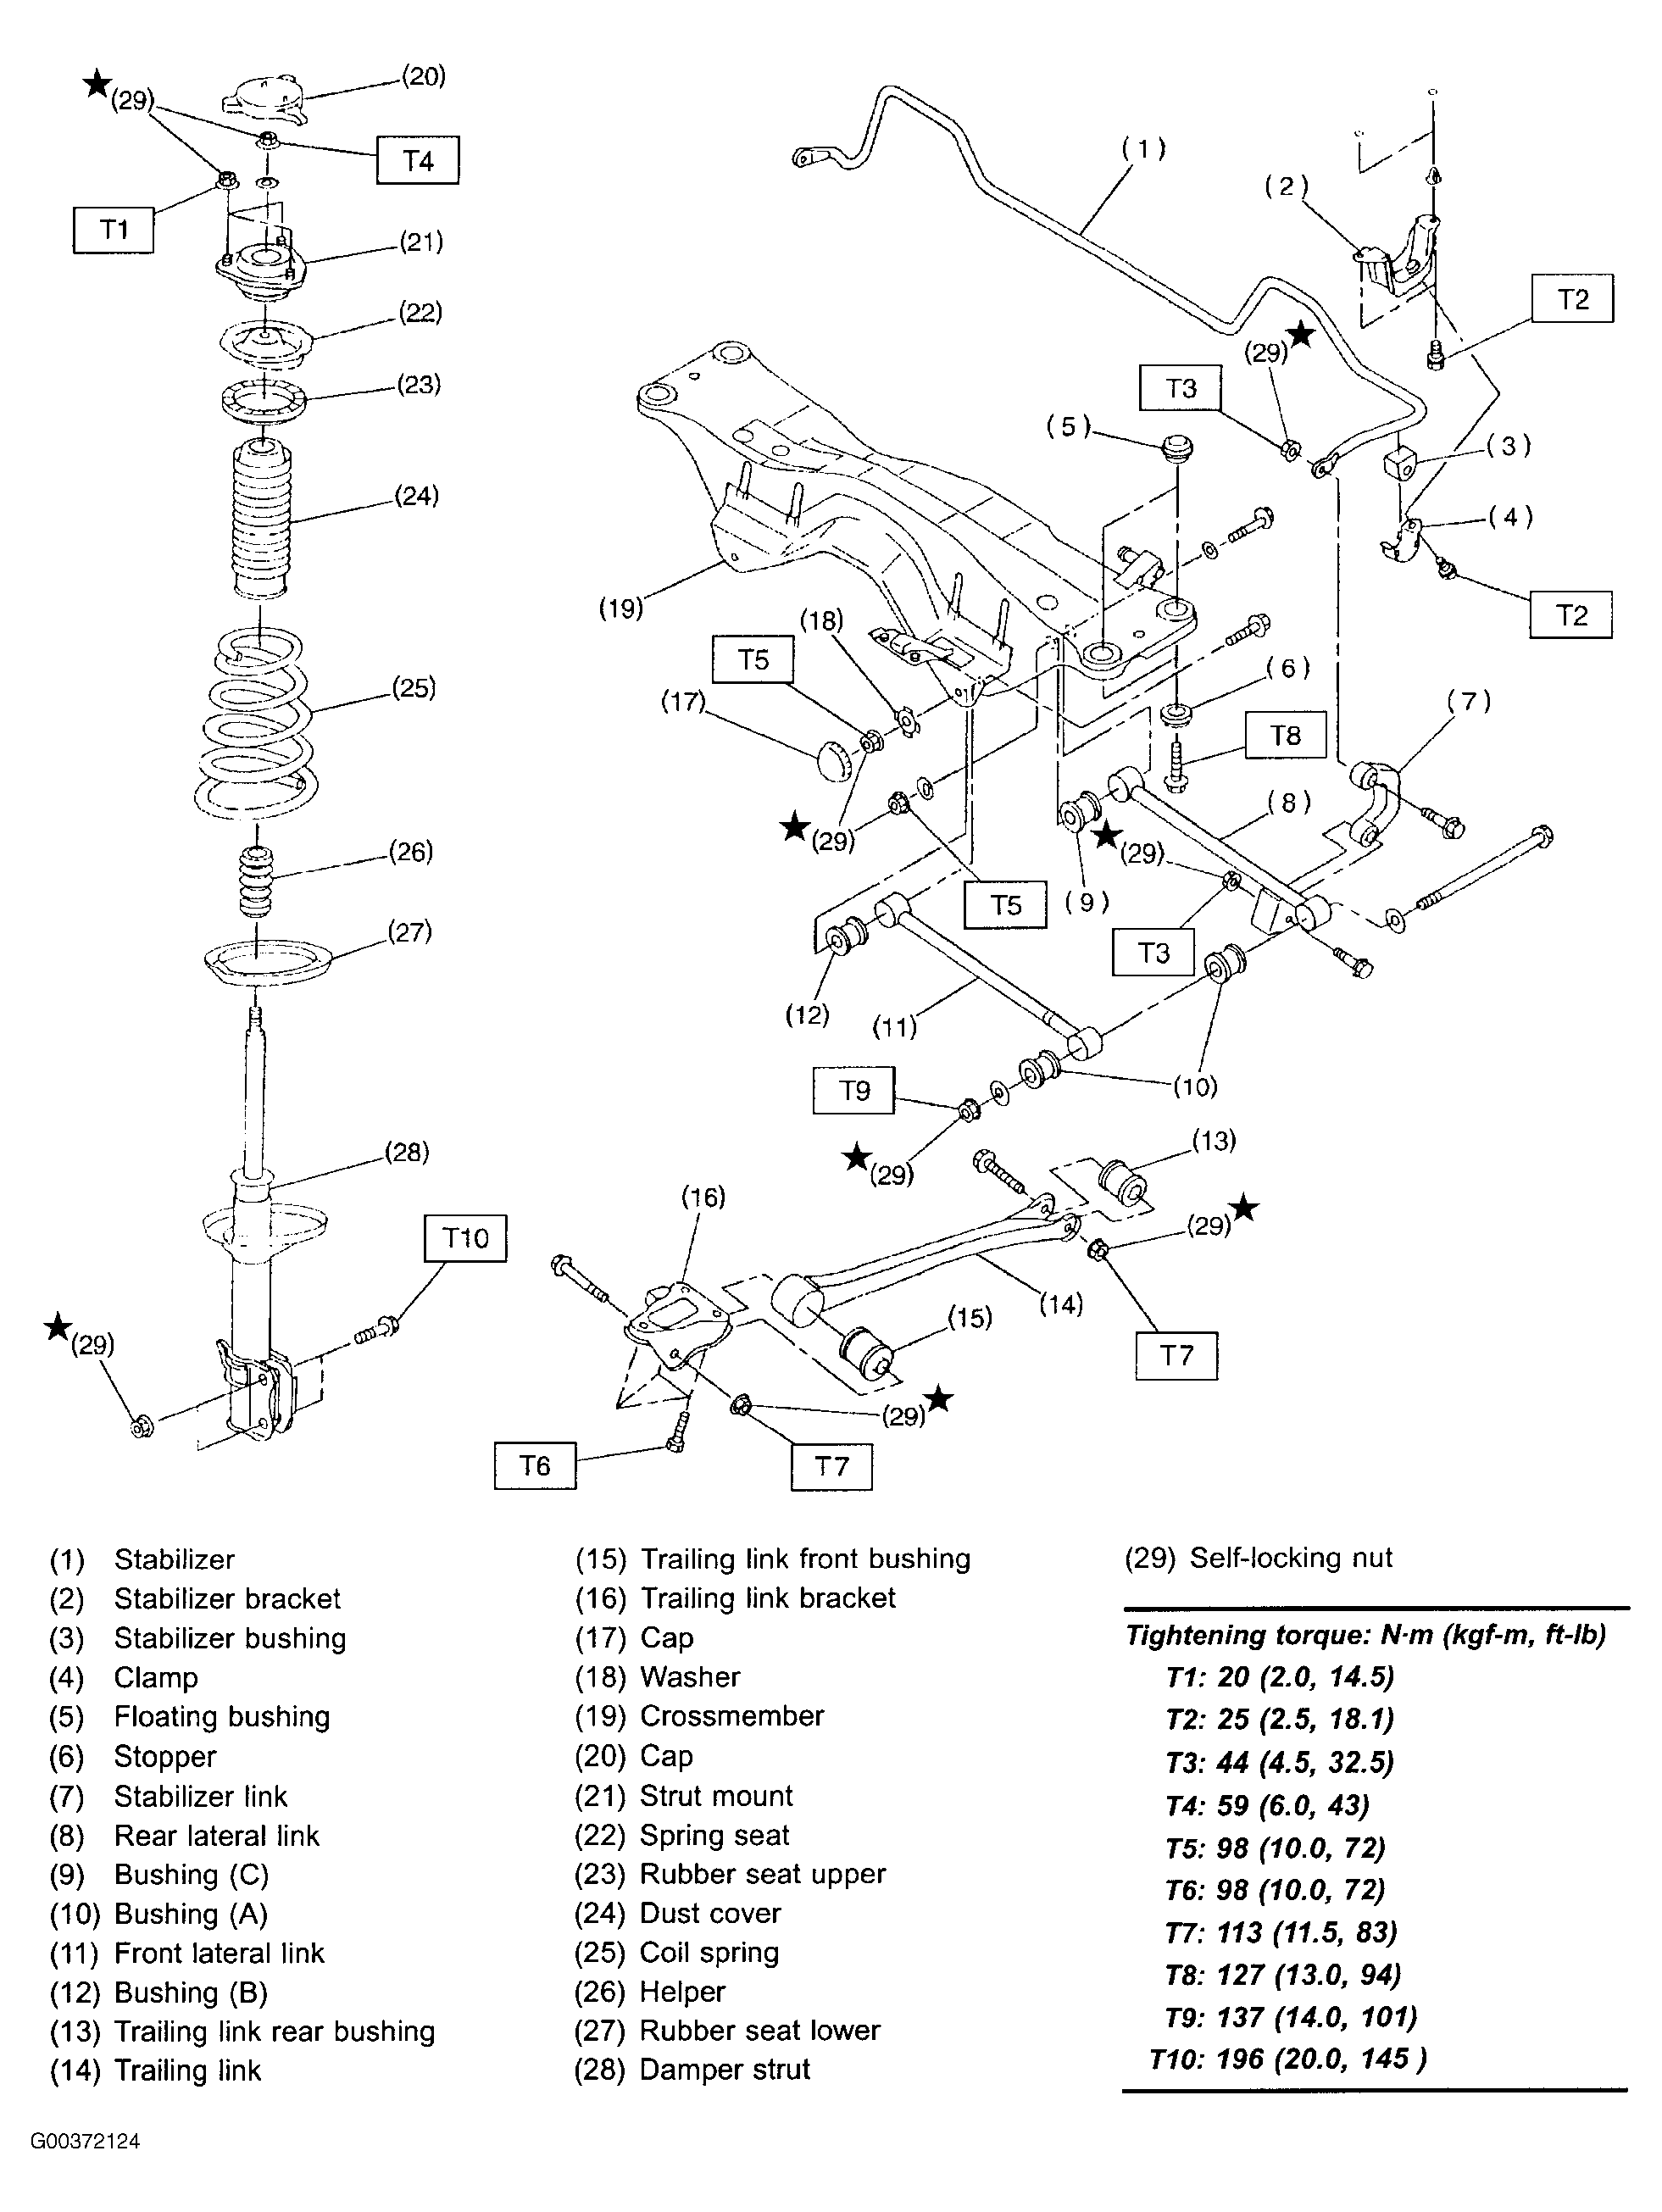 Courtesy of SUBARU OF AMERICA, INC.
- Install rear differential assembly. Refer to appropriate DRIVELINE/AXLES article.
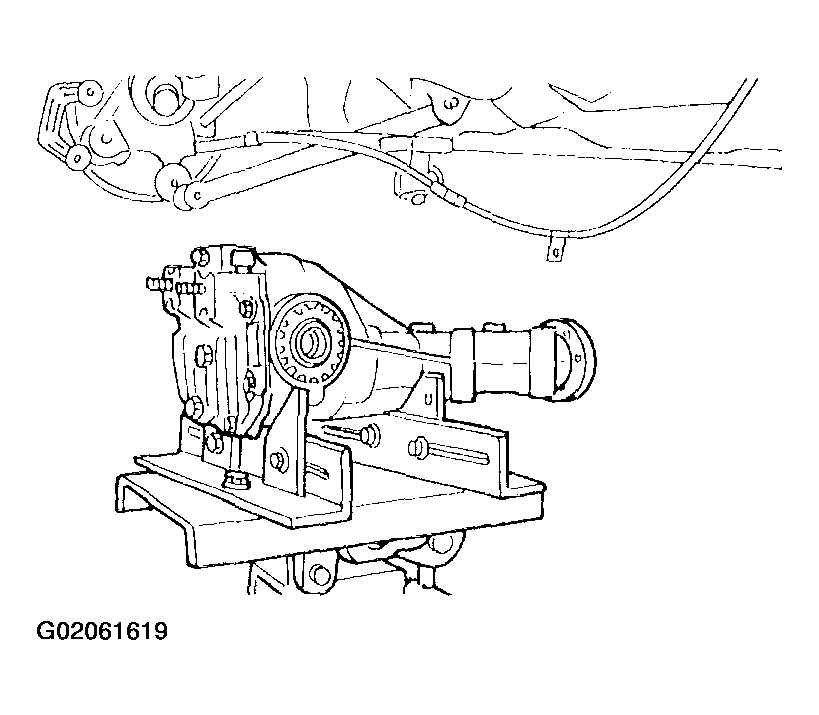 Courtesy of SUBARU OF AMERICA, INC.
- Connect connector to drain valve.
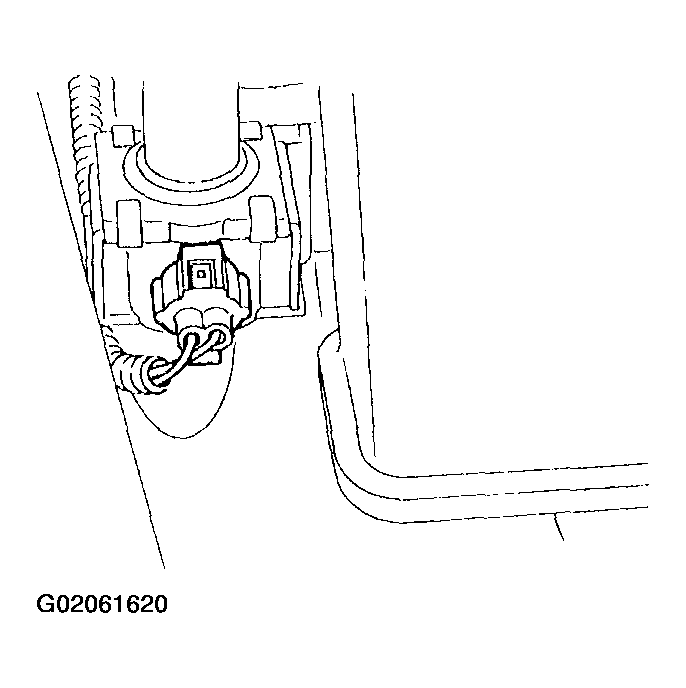 Courtesy of SUBARU OF AMERICA, INC.
- Connect connector to pressure control solenoid valve.
- Connect hose to joint pipe.
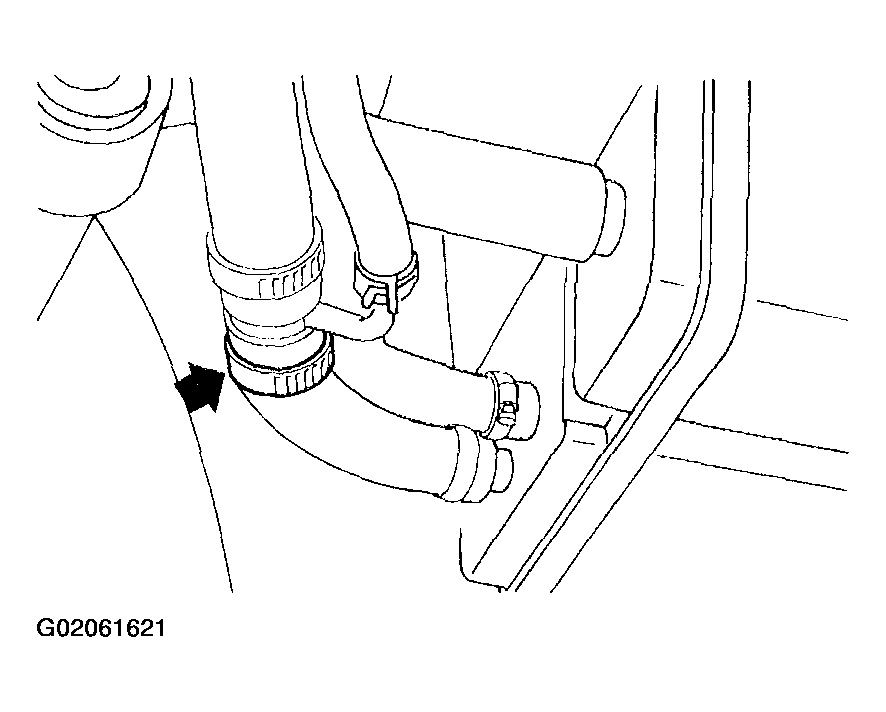 Courtesy of SUBARU OF AMERICA, INC.
- Connect evaporation hose to canister, and hold them with clamp.
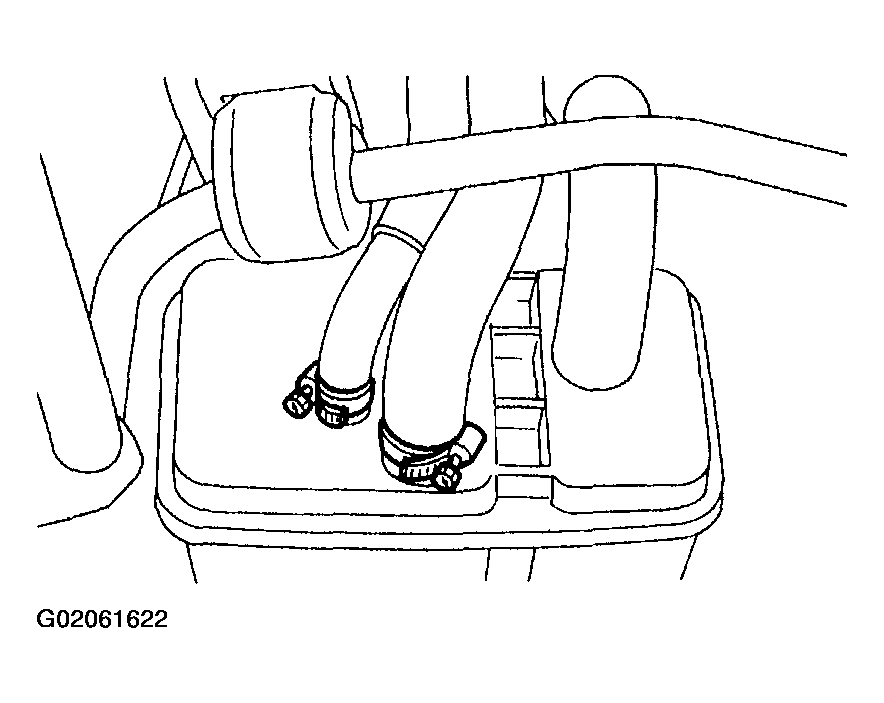 Courtesy of SUBARU OF AMERICA, INC.
- Connect hoses to roll over valve.
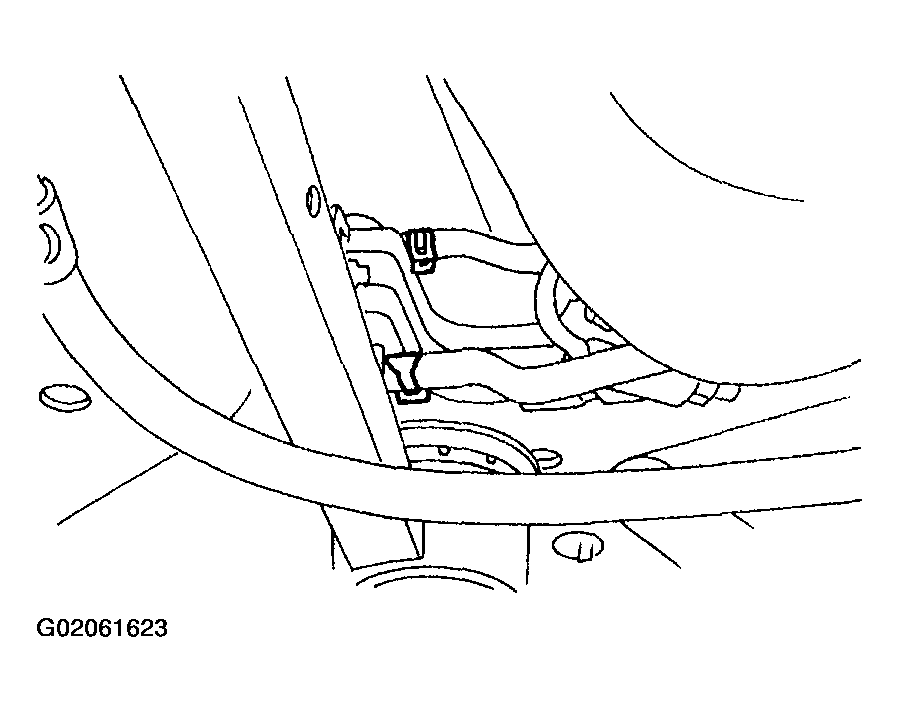 Courtesy of SUBARU OF AMERICA, INC.
- Install bolts which hold parking brake holding bracket.
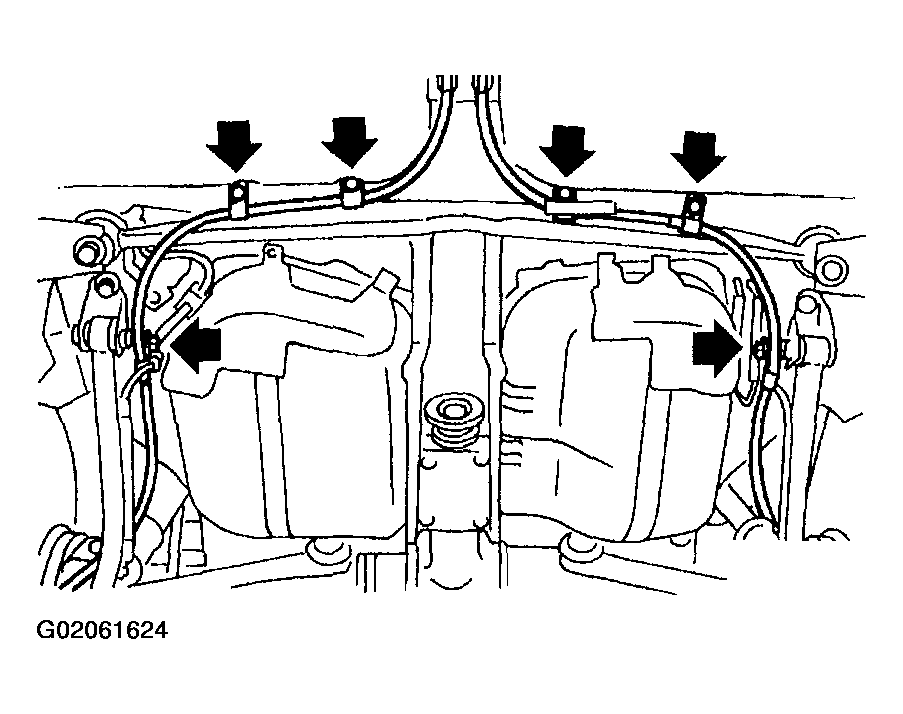 Courtesy of SUBARU OF AMERICA, INC.
- Install heat sealed cover.
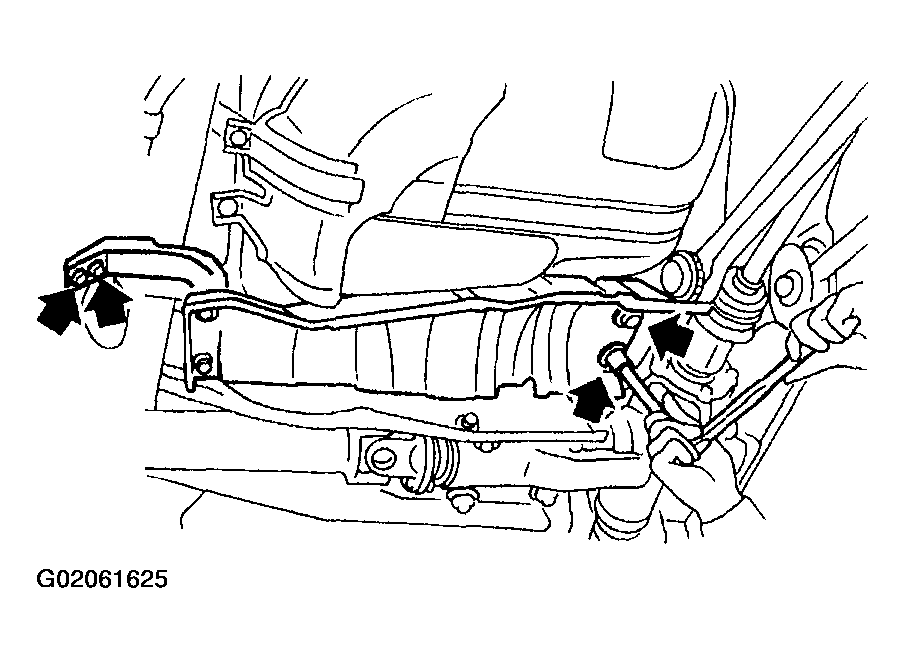 Courtesy of SUBARU OF AMERICA, INC.
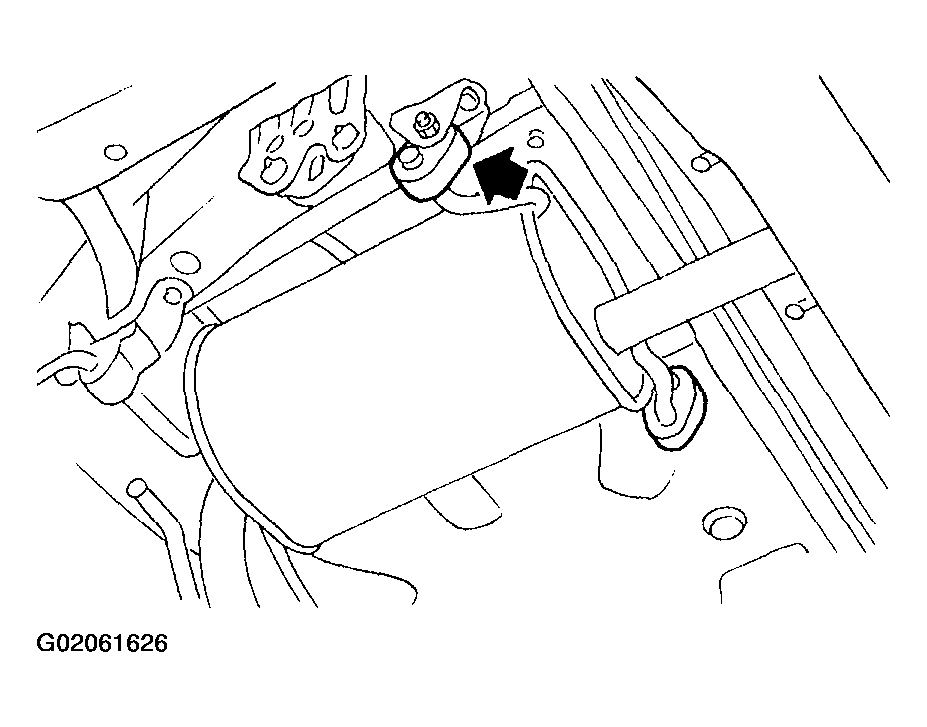
- Install muffler assembly. See appropriate EXHAUST SYSTEM article.
 Courtesy of SUBARU OF AMERICA, INC.
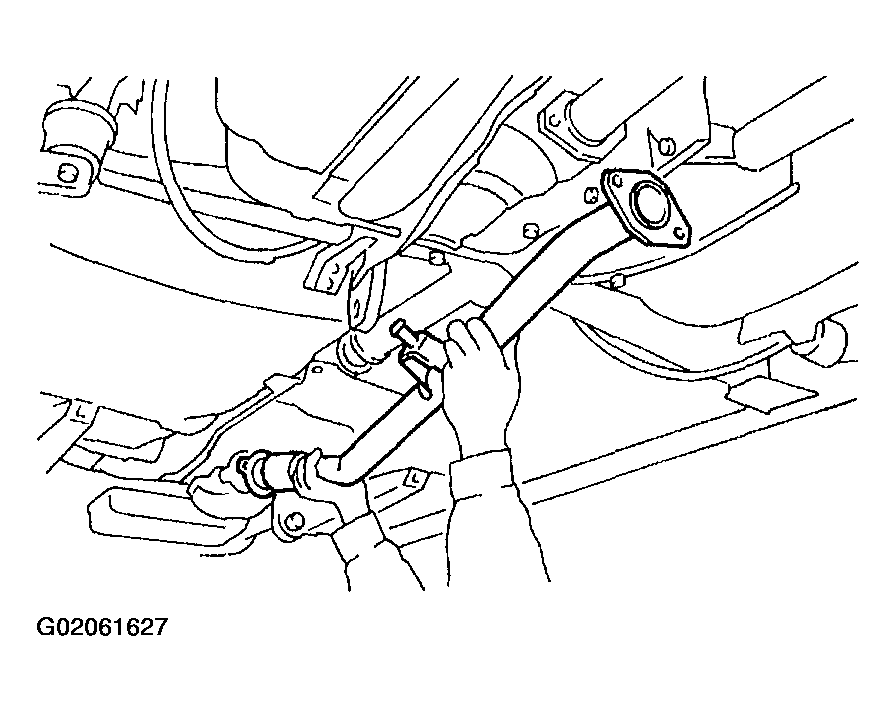
- Install rear exhaust pipe. See appropriate EXHAUST SYSTEM article.
 Courtesy of SUBARU OF AMERICA, INC.
- Lower the vehicle.
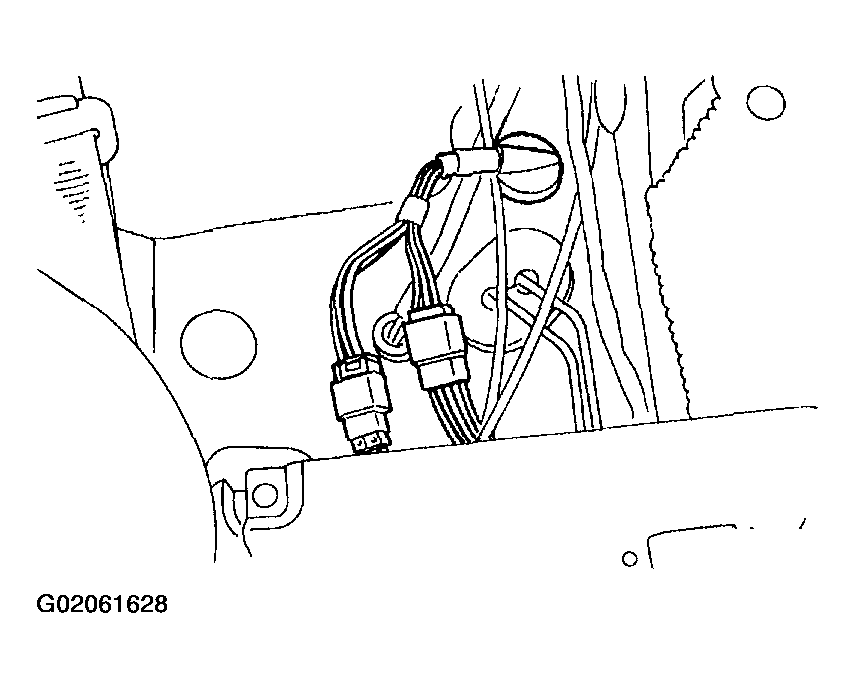
- Connect connectors to fuel tank harness, and plug access hole with grommet.
 Courtesy of SUBARU OF AMERICA, INC.
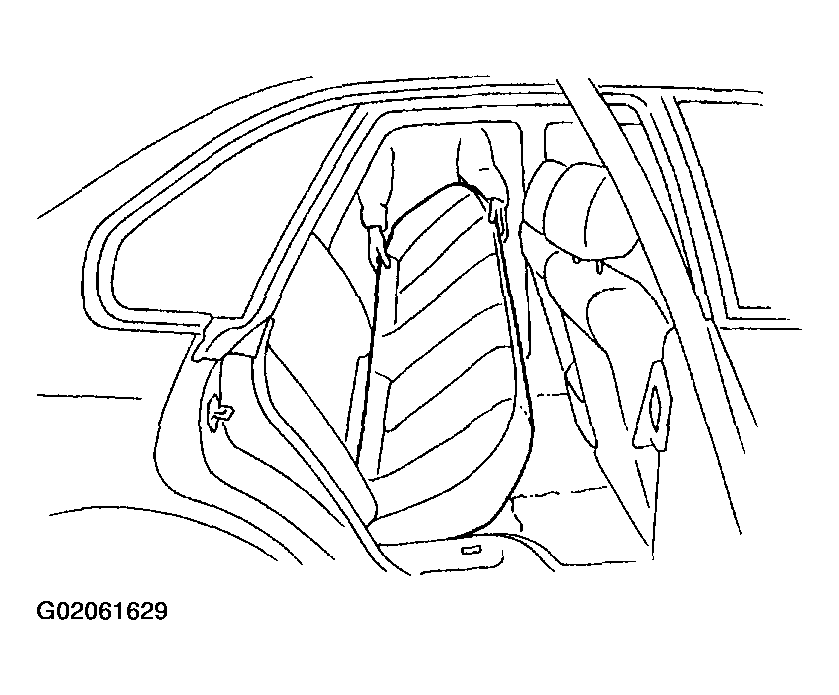
- Install rear seat cushion. (Sedan model)
 Courtesy of SUBARU OF AMERICA, INC.
- Set rear seat cushion. (Wagon model)
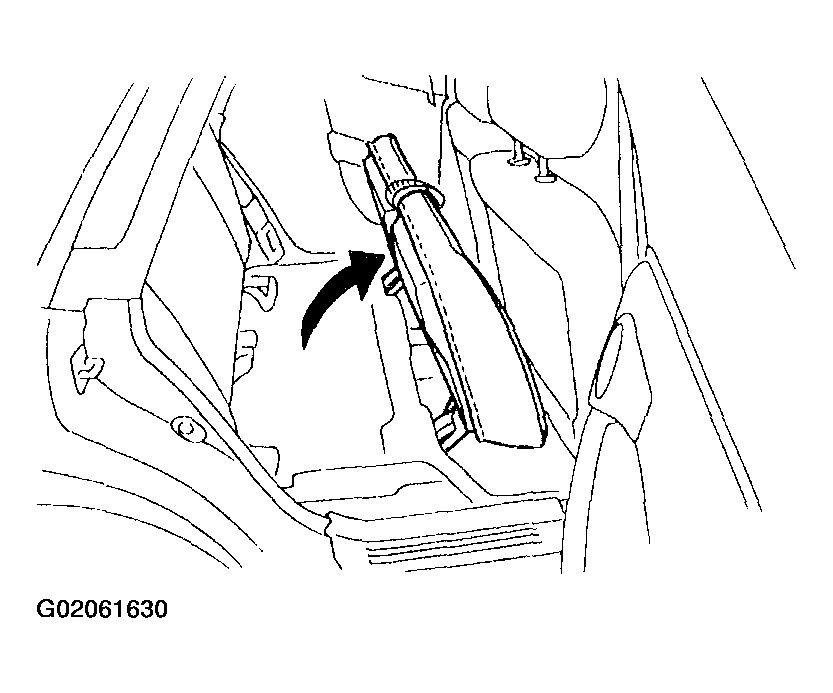 Courtesy of SUBARU OF AMERICA, INC.
- Install fuel filler cap.
- Connect connector to fuel pump relay.
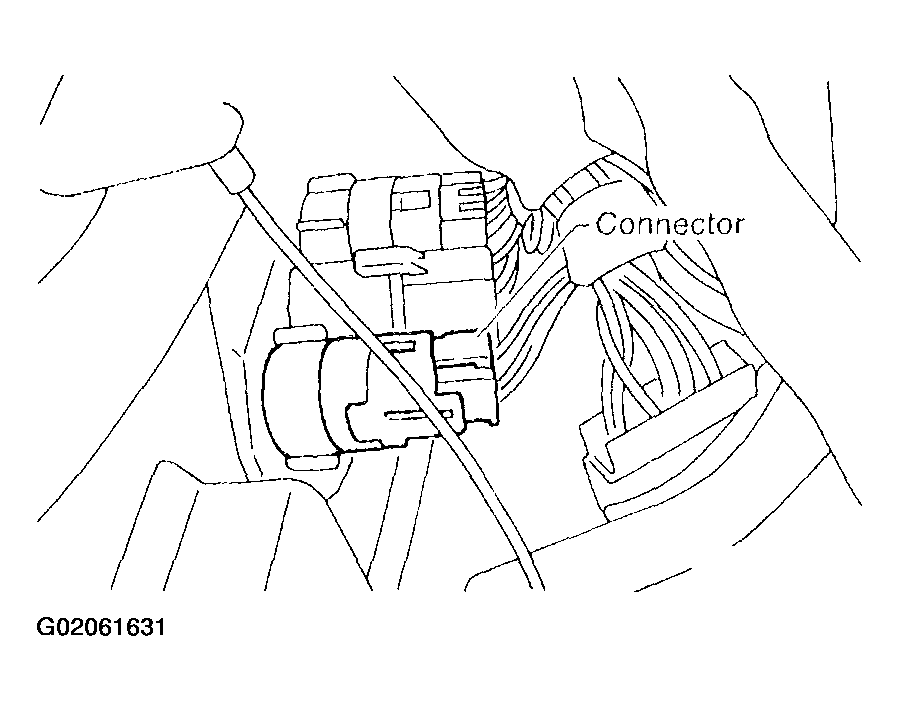 Courtesy of SUBARU OF AMERICA, INC.
- Connect battery ground cable.
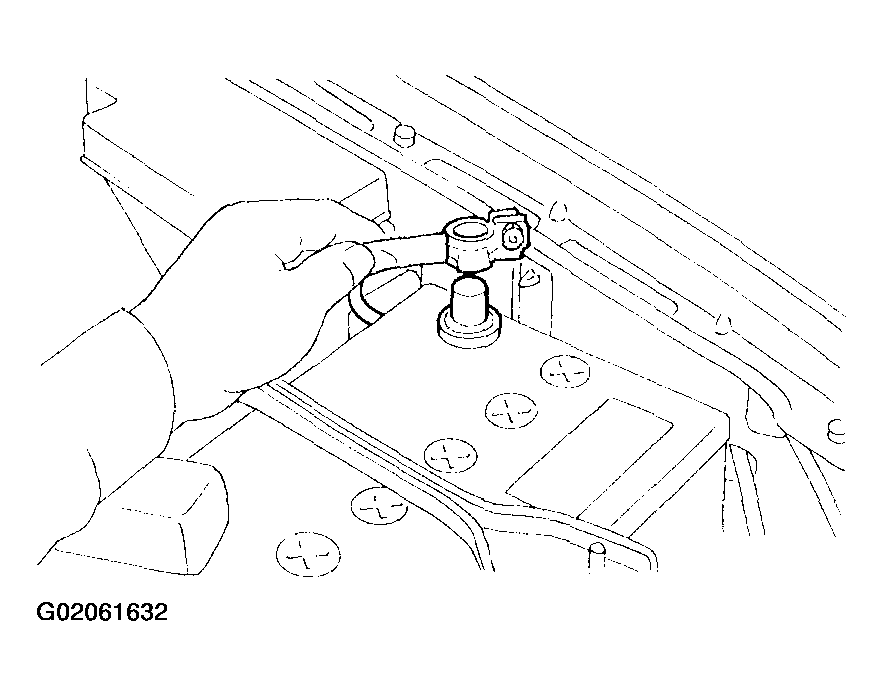 Courtesy of SUBARU OF AMERICA, INC.