Removal Procedure
 Courtesy of GENERAL MOTORS CORP.
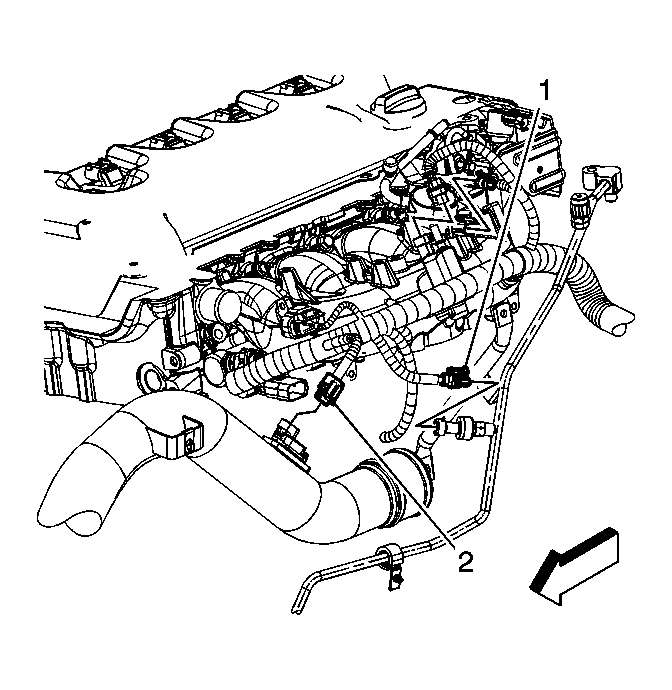
- Disconnect the engine wiring harness electrical connector (2) from the intake air pressure and temperature sensor.
 Courtesy of GENERAL MOTORS CORP.
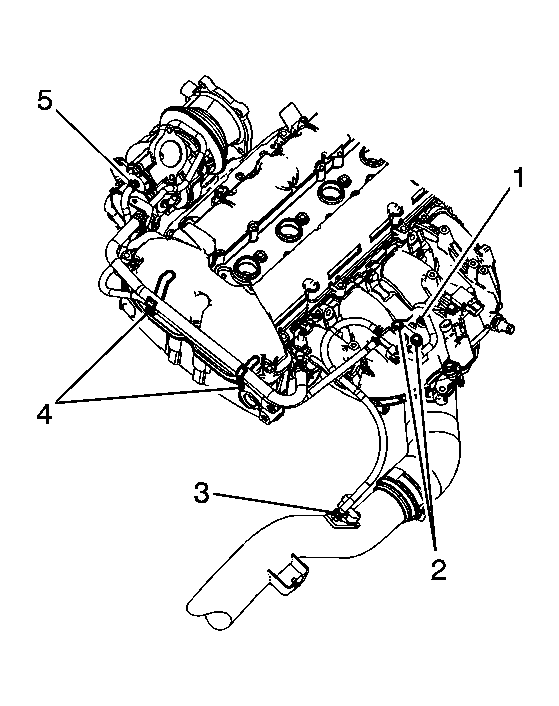
- Reposition the charge air bypass valve solenoid vacuum hose clamp (3) at the charge air cooler outlet pipe.
- Remove the vacuum hose from the charge air cooler outlet pipe.
 Courtesy of GENERAL MOTORS CORP.
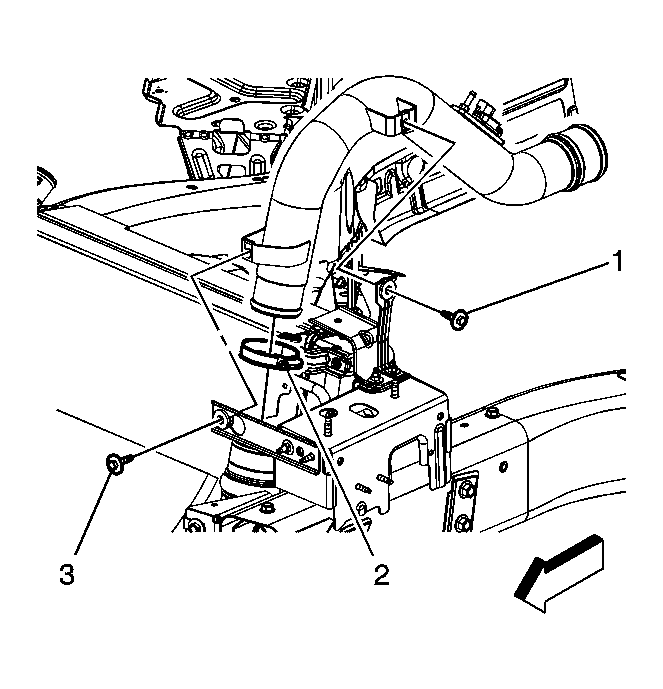
- Remove the charge air cooler outlet pipe bolt (1) at the rear bracket.
 Courtesy of GENERAL MOTORS CORP.
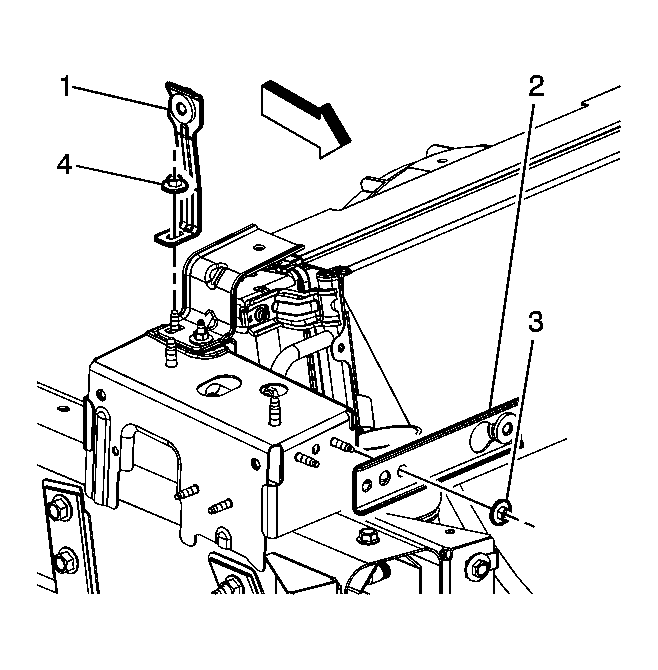
- Remove the charge air cooler rear bracket nut (4) and bracket (1).
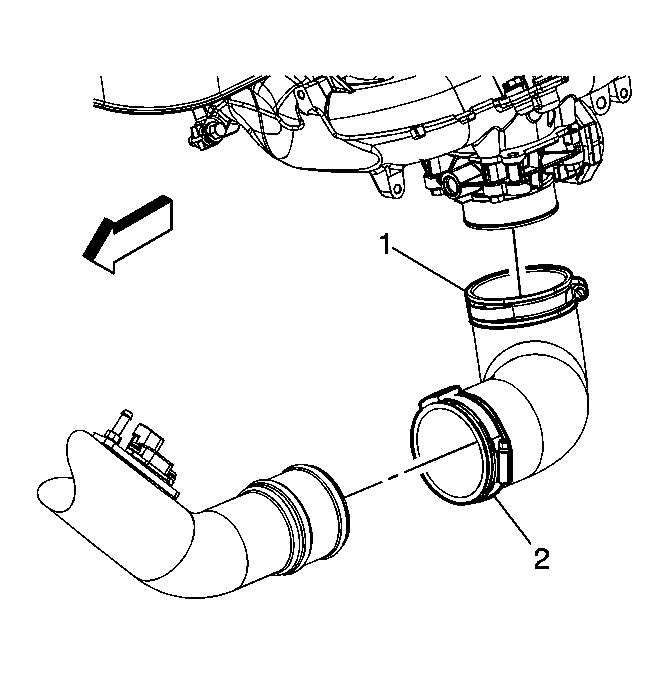 Courtesy of GENERAL MOTORS CORP.
- Loosen the charge air cooler hose clamp (2) at the throttle body charge air cooler outlet hose.
- Remove the charge air cooler outlet pipe from the throttle body charge air cooler hose (1).
- If needed, remove the throttle body charge air cooler hose (1) from the throttle body.
Courtesy of GENERAL MOTORS CORP.
- Remove the charge air cooler outlet pipe bolt (3) at the front bracket.
- Loosen the charge air cooler clamp (2) at the charge air cooler outlet pipe.
- Remove the charge air cooler outlet pipe.
- Remove any oil film from inside the pipes and hoses.