Disassembly Note
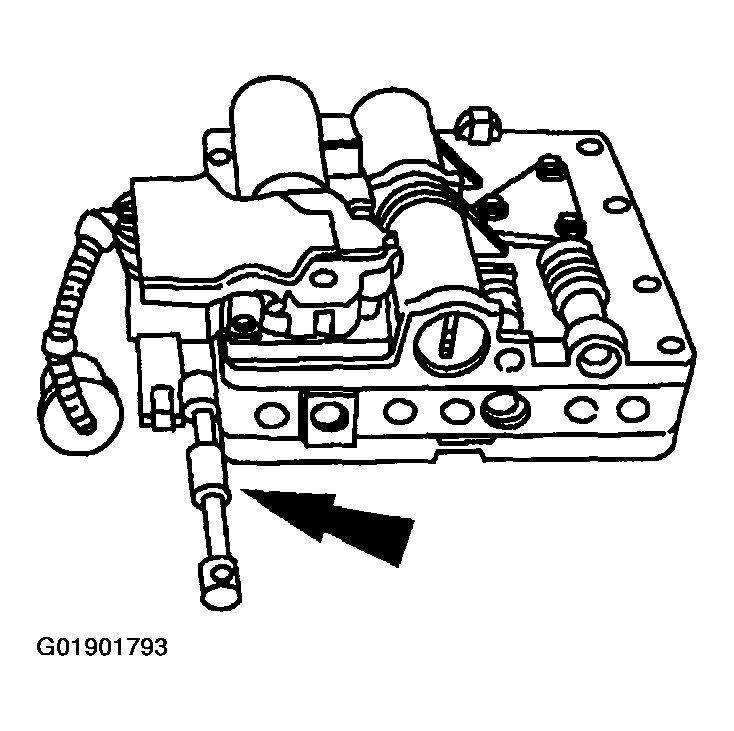 Courtesy of MAZDA MOTORS CORP.
- Remove the manual valve.
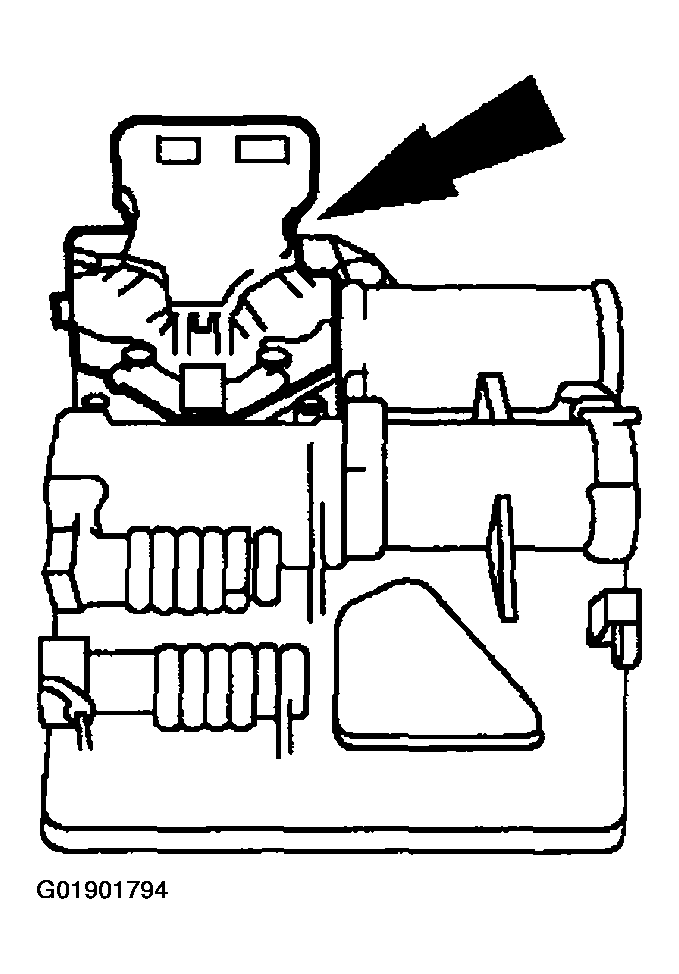 Courtesy of MAZDA MOTORS CORP.
CAUTION:
- Do not attempt to remove the solenoid valve body wiring cover.
- Remove the two solenoid valve body bolts and the solenoid valve body.
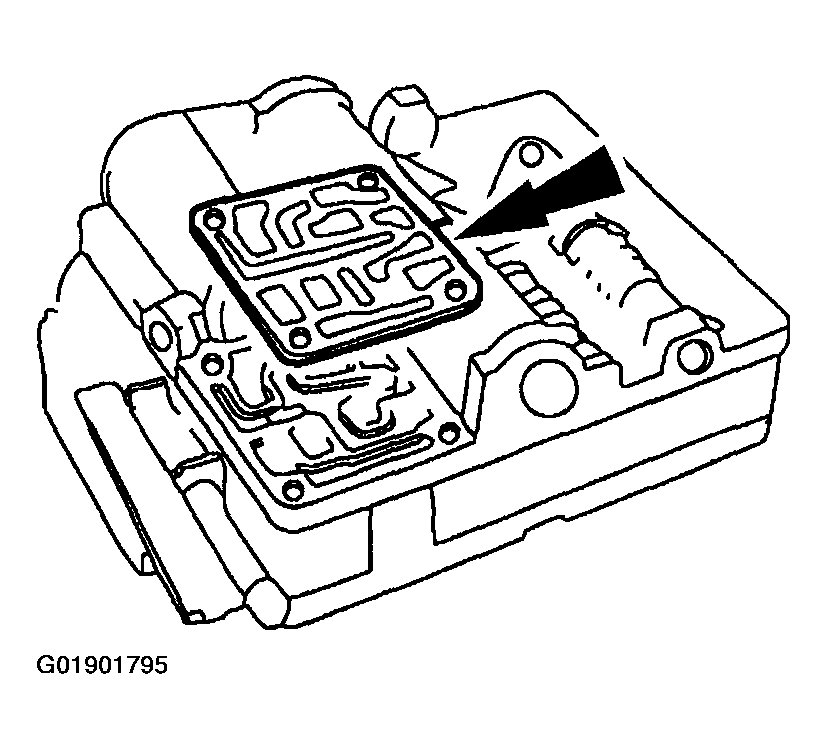 Courtesy of MAZDA MOTORS CORP.
- Remove and discard the solenoid valve body gasket.
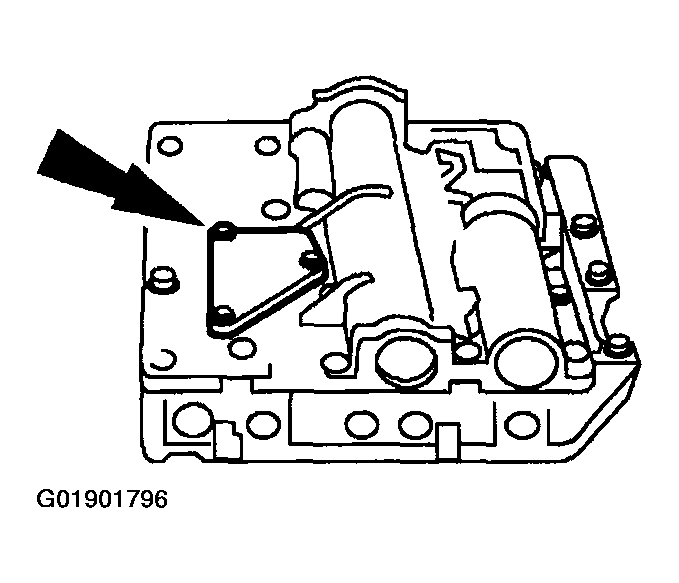 Courtesy of MAZDA MOTORS CORP.
- Remove the three pressure tap plate bolts and the pressure tap plate.
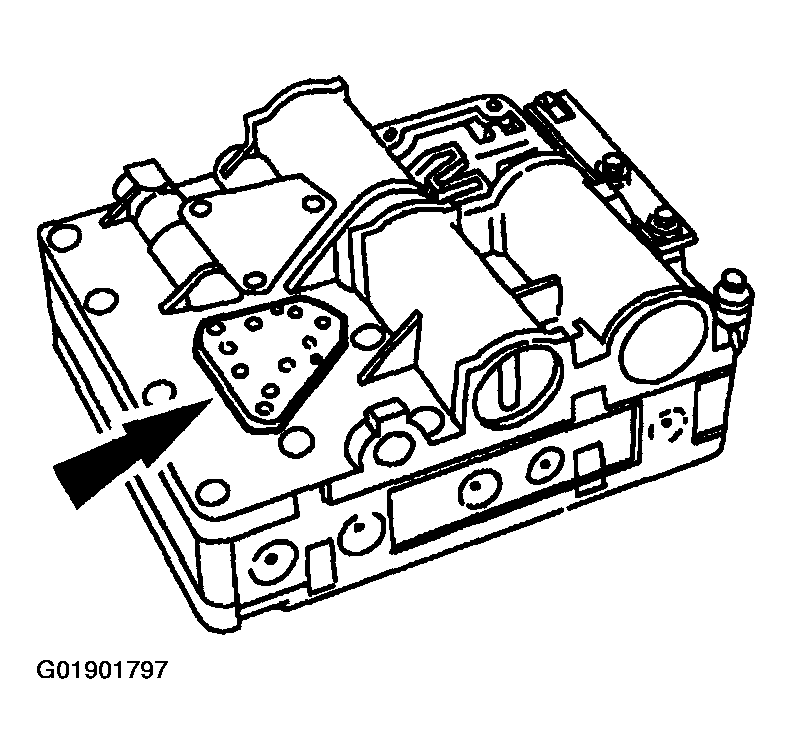 Courtesy of MAZDA MOTORS CORP.
- Remove and discard the pressure plate tap gasket.
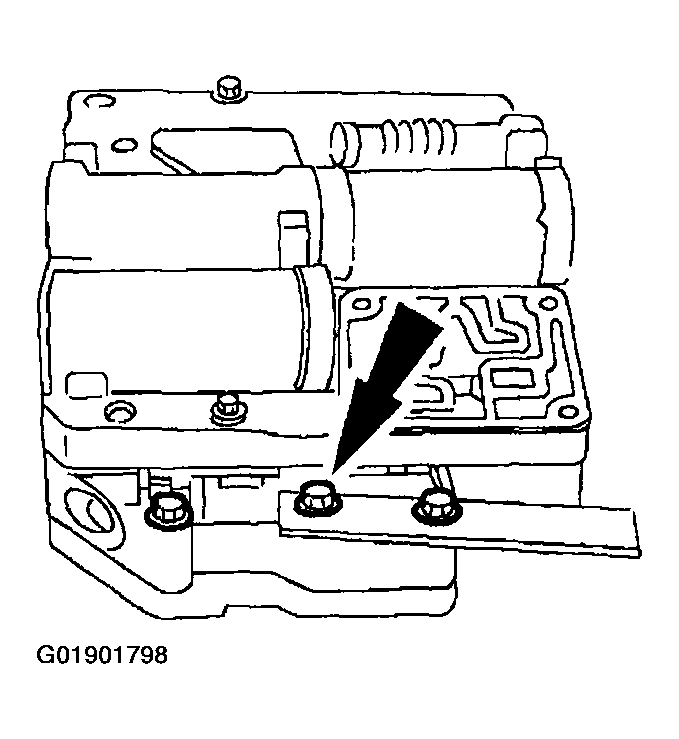 Courtesy of MAZDA MOTORS CORP.
- Remove the control valve body to transfer plate bolts, and remove the manual valve detent spring assembly.
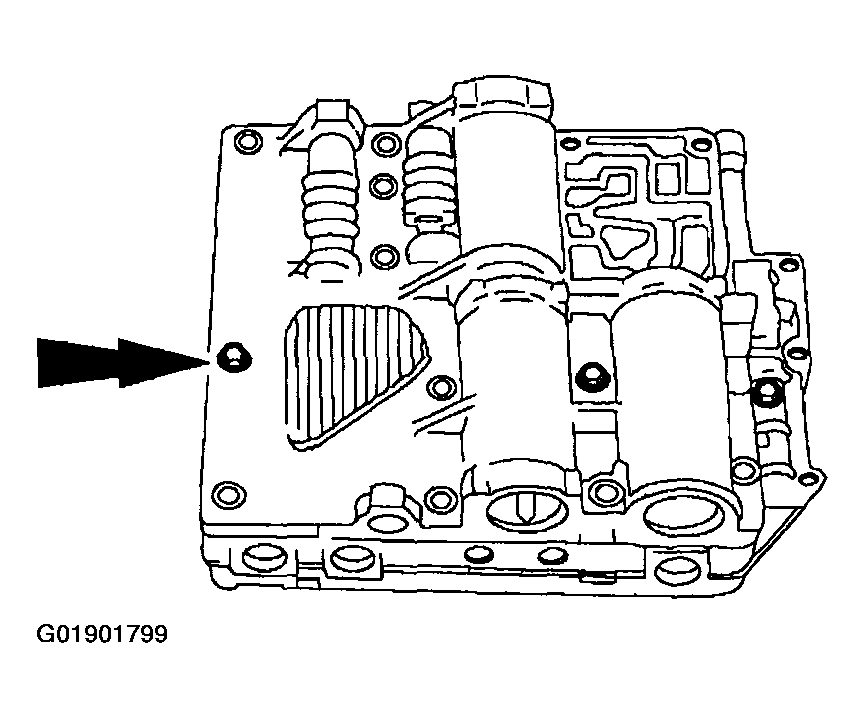 Courtesy of MAZDA MOTORS CORP.
- Remove the accumulator body-to-transfer plate bolts.
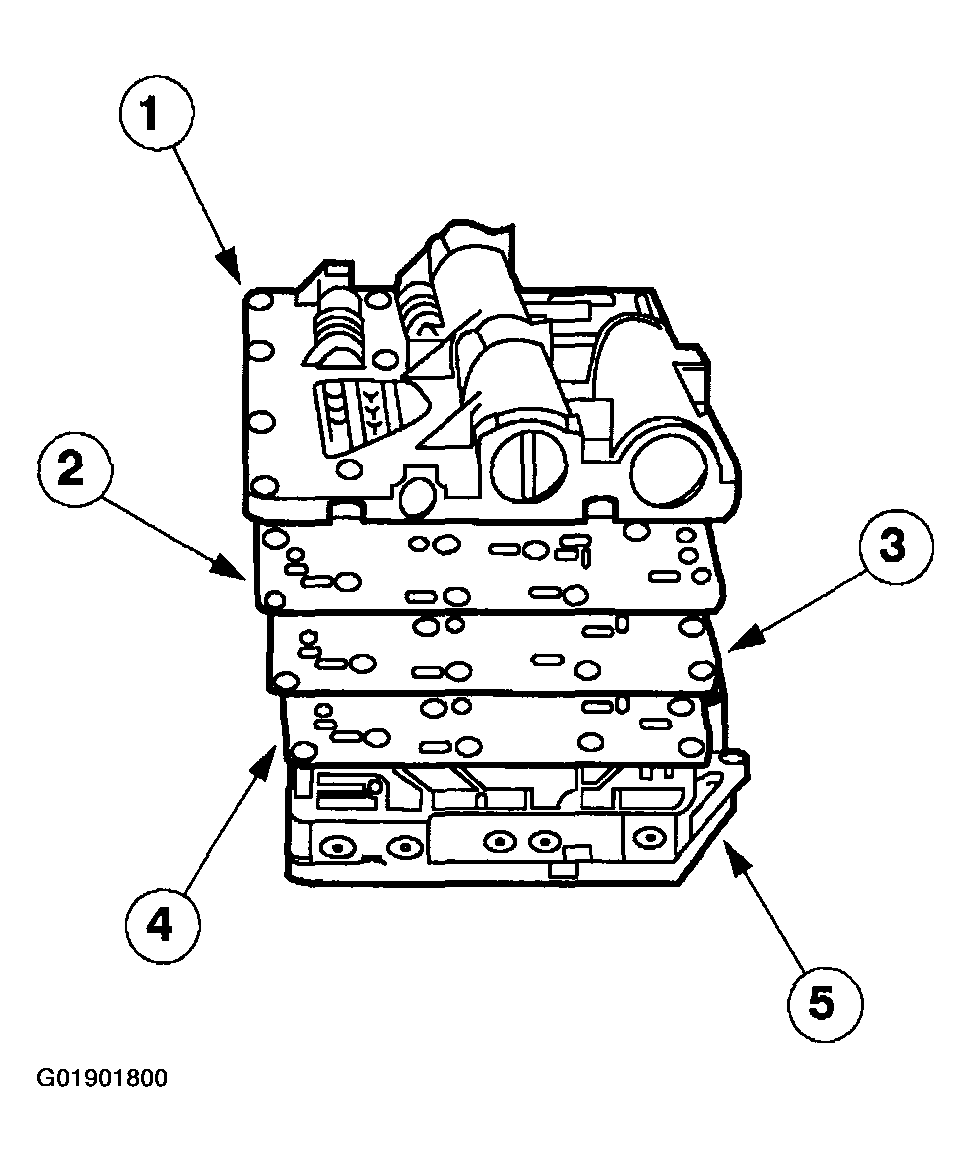 Courtesy of MAZDA MOTORS CORP.
- Separate the accumulator body from the main control valve body.
- Remove the accumulator body assembly.
- Remove and discard the accumulator body separator gasket.
- Remove the accumulator body separator plate.
- Remove and discard the accumulator body separator gasket.
- Remove the main control valve body.
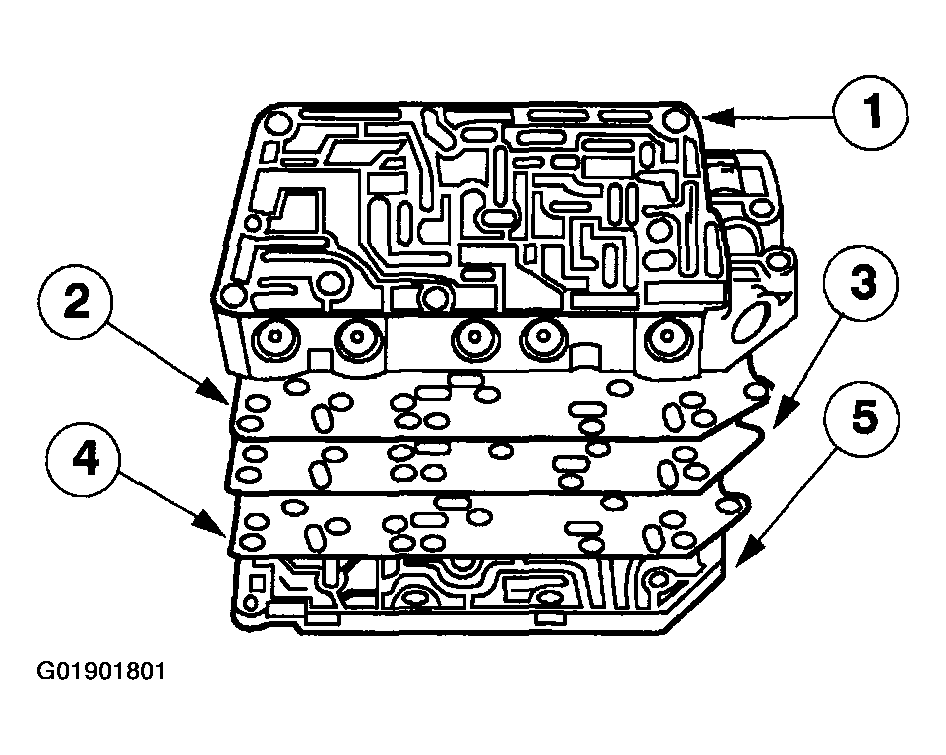 Courtesy of MAZDA MOTORS CORP.
- Separate the transfer plate from the main control valve body.
- Remove the main control valve body.
- Remove and discard the valve body separator plate gasket.
- Remove the valve body separator plate.
- Remove and discard the valve body separator plate gasket.
- Remove the transfer plate.
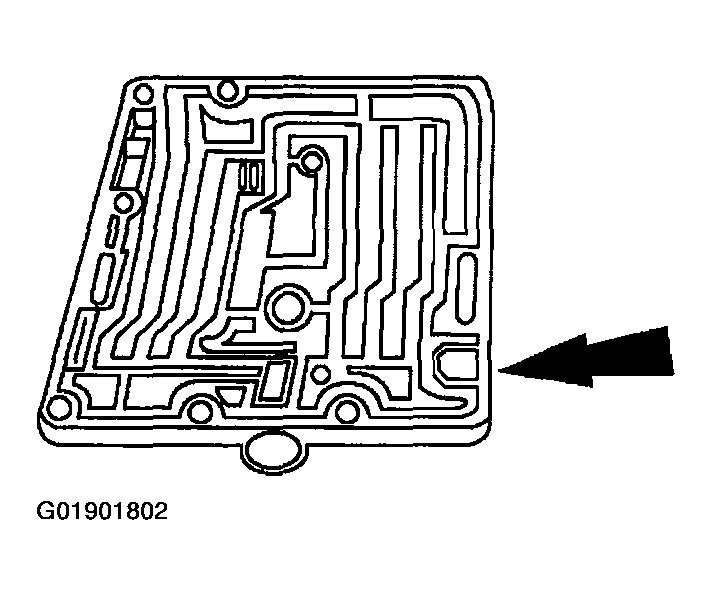 Courtesy of MAZDA MOTORS CORP.
- Remove the intermediate and overdrive accumulator valve plug retaining plate from the accumulator body assembly.
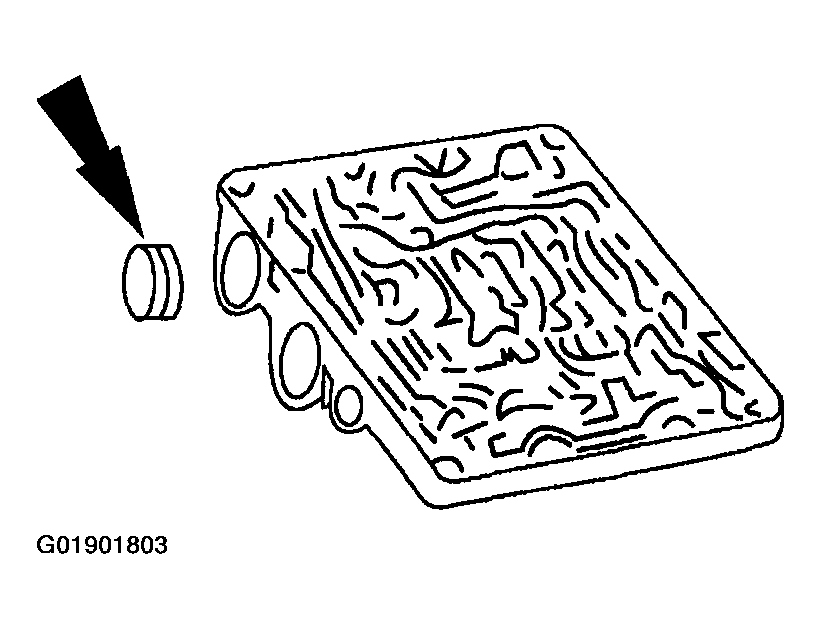 Courtesy of MAZDA MOTORS CORP.
- Remove the intermediate and overdrive accumulator valve plug.
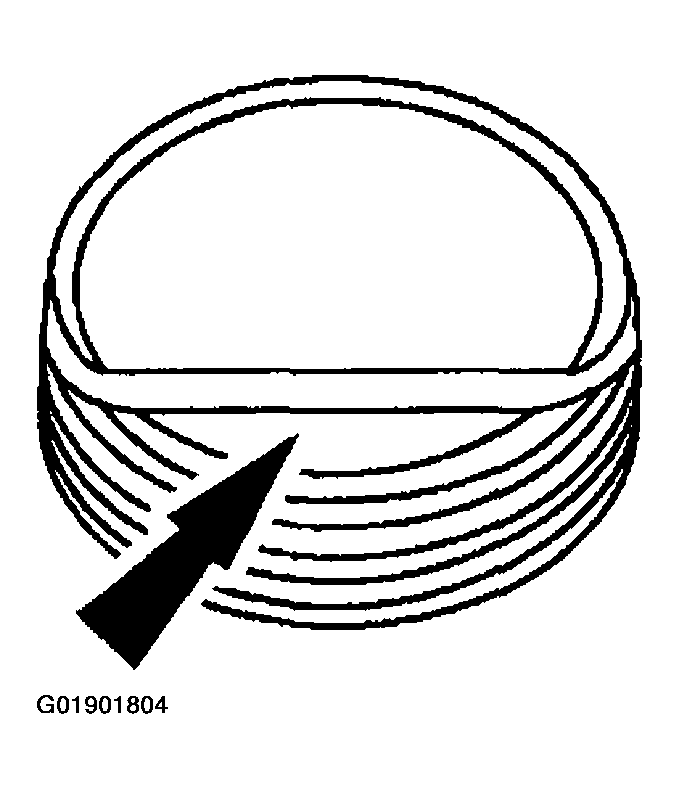 Courtesy of MAZDA MOTORS CORP.
- Remove and discard the intermediate and overdrive accumulator plug seal.
CAUTION:
- Remove, note location and clean one valve at a time to avoid incorrect installation.
- As necessary, disassemble the parts of the accumulator body and main control valve body assemblies.
- Lubricate and reassemble the parts as soon as possible to avoid accidental damage or incorrect installation.