Main Control Valve Body: Installation
WARNING: This page is about a different variant/trim than selected.
- 1.
New separator plate.
- Tighten to 10 Nm (89 lb-in).
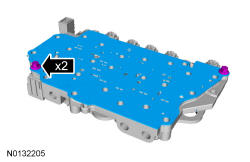 Courtesy of FORD MOTOR COMPANY Courtesy of FORD MOTOR COMPANY
|
- 2.
- Tighten to 10 Nm (89 lb-in).
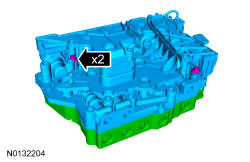 Courtesy of FORD MOTOR COMPANY Courtesy of FORD MOTOR COMPANY
|
- 3.
Align the new separator plate on the stud and the guide pin.
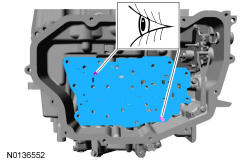 Courtesy of FORD MOTOR COMPANY Courtesy of FORD MOTOR COMPANY
|
- 4.
NOTE:
Be sure that the manual pin (part of the TR sensor) is correctly installed in the manual valve.
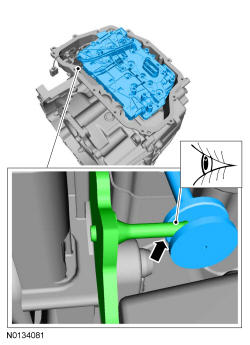 Courtesy of FORD MOTOR COMPANY Courtesy of FORD MOTOR COMPANY
|
- 5.
Nut hand-tight.
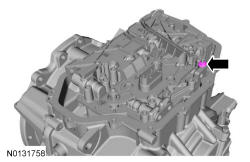 Courtesy of FORD MOTOR COMPANY Courtesy of FORD MOTOR COMPANY
|
- 6.
Short bolts hand-tight.
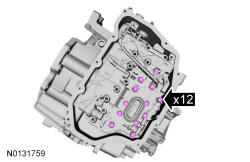 Courtesy of FORD MOTOR COMPANY Courtesy of FORD MOTOR COMPANY
|
- 7.
Long bolts hand-tight.
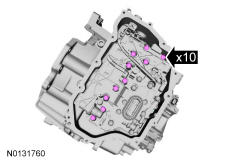 Courtesy of FORD MOTOR COMPANY Courtesy of FORD MOTOR COMPANY
|
- 8.
Tighten in a crisscross pattern.
- Tighten to 10 Nm (89 lb-in).
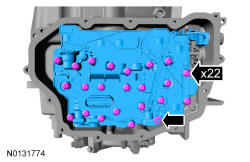 Courtesy of FORD MOTOR COMPANY Courtesy of FORD MOTOR COMPANY
|
- 9.
NOTE:
Be sure the main control-to-cover seal is installed with the holes facing up.
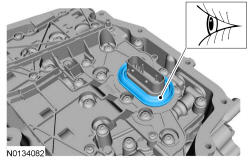 Courtesy of FORD MOTOR COMPANY Courtesy of FORD MOTOR COMPANY
|
- 10.
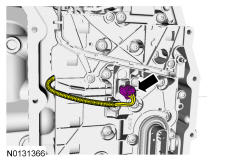 Courtesy of FORD MOTOR COMPANY Courtesy of FORD MOTOR COMPANY
|
- 11.
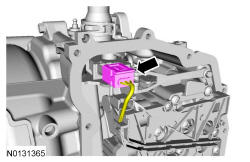 Courtesy of FORD MOTOR COMPANY Courtesy of FORD MOTOR COMPANY
|
- 12.
Install the main control cover. Refer to Main Control Cover .
- 13.
NOTE:
The solenoid body strategy data file and solenoid body identification must be updated anytime a new solenoid body is installed. A new solenoid body service tag must be installed over the current solenoid body service tag on top of the transmission case.
Refer to Solenoid Body Strategy Download .