ATF Temperature Sensor And Solenoid Connector Wire: Installation
- Install transaxle wire:
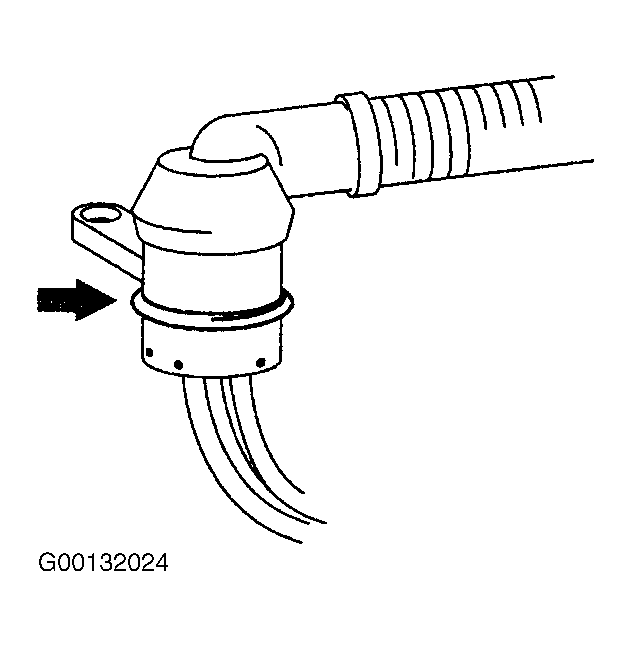
- Coat a NEW "O" ring with ATF and place on solenoid wire connector. See Fig 4.
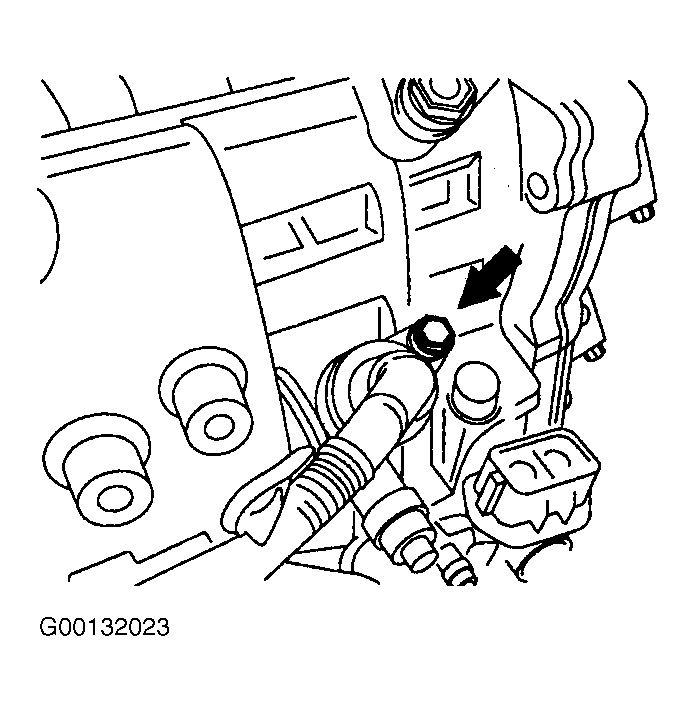
- Install the solenoid connector wire and bolt. Tighten bolt to specification. See TORQUE SPECIFICATIONS .
- Connect solenoid connector.
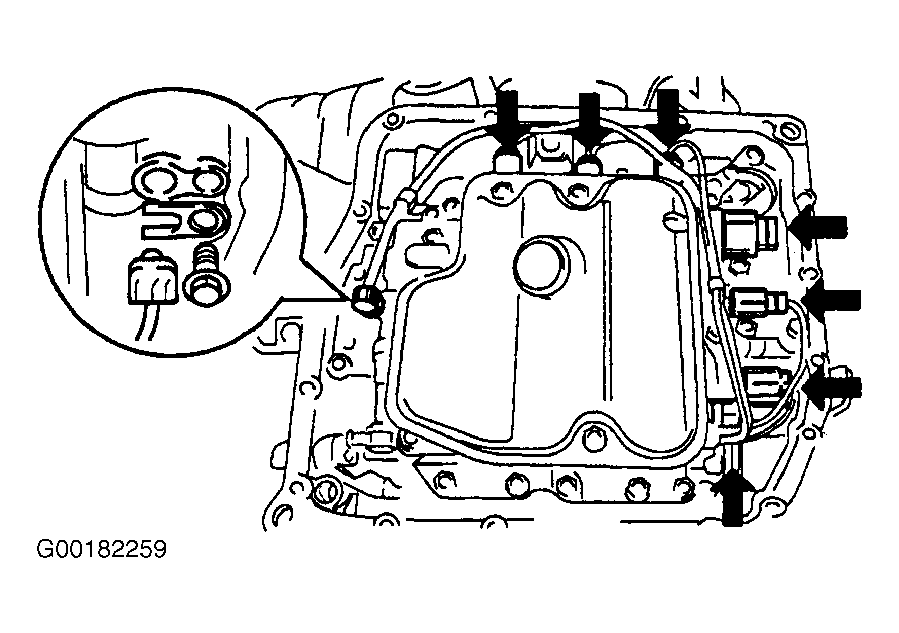
- Coat a new "O" ring with ATF and install it on ATF temperature sensor. Install ATF temperature sensor with lock plate and bolt. See Fig 2. Tighten bolt to specification. See TORQUE SPECIFICATIONS .
- Connect the shift solenoid valve connectors.
- Place magnets in oil pan. See Figure. Apply seal packing or equivalent to bolts (Manufacture recommends THREE BOND 1344). Install oil pan and a NEW gasket. Hand tighten bolts. Within 10 minutes of application of seal packing, tighten bolts to specification. See TORQUE SPECIFICATIONS .
- Install a NEW gasket and drain plug. Tighten drain plug to specification. See TORQUE SPECIFICATIONS .
- Fill transaxle with ATF and check ATF level. See DRAINING & REFILLING .
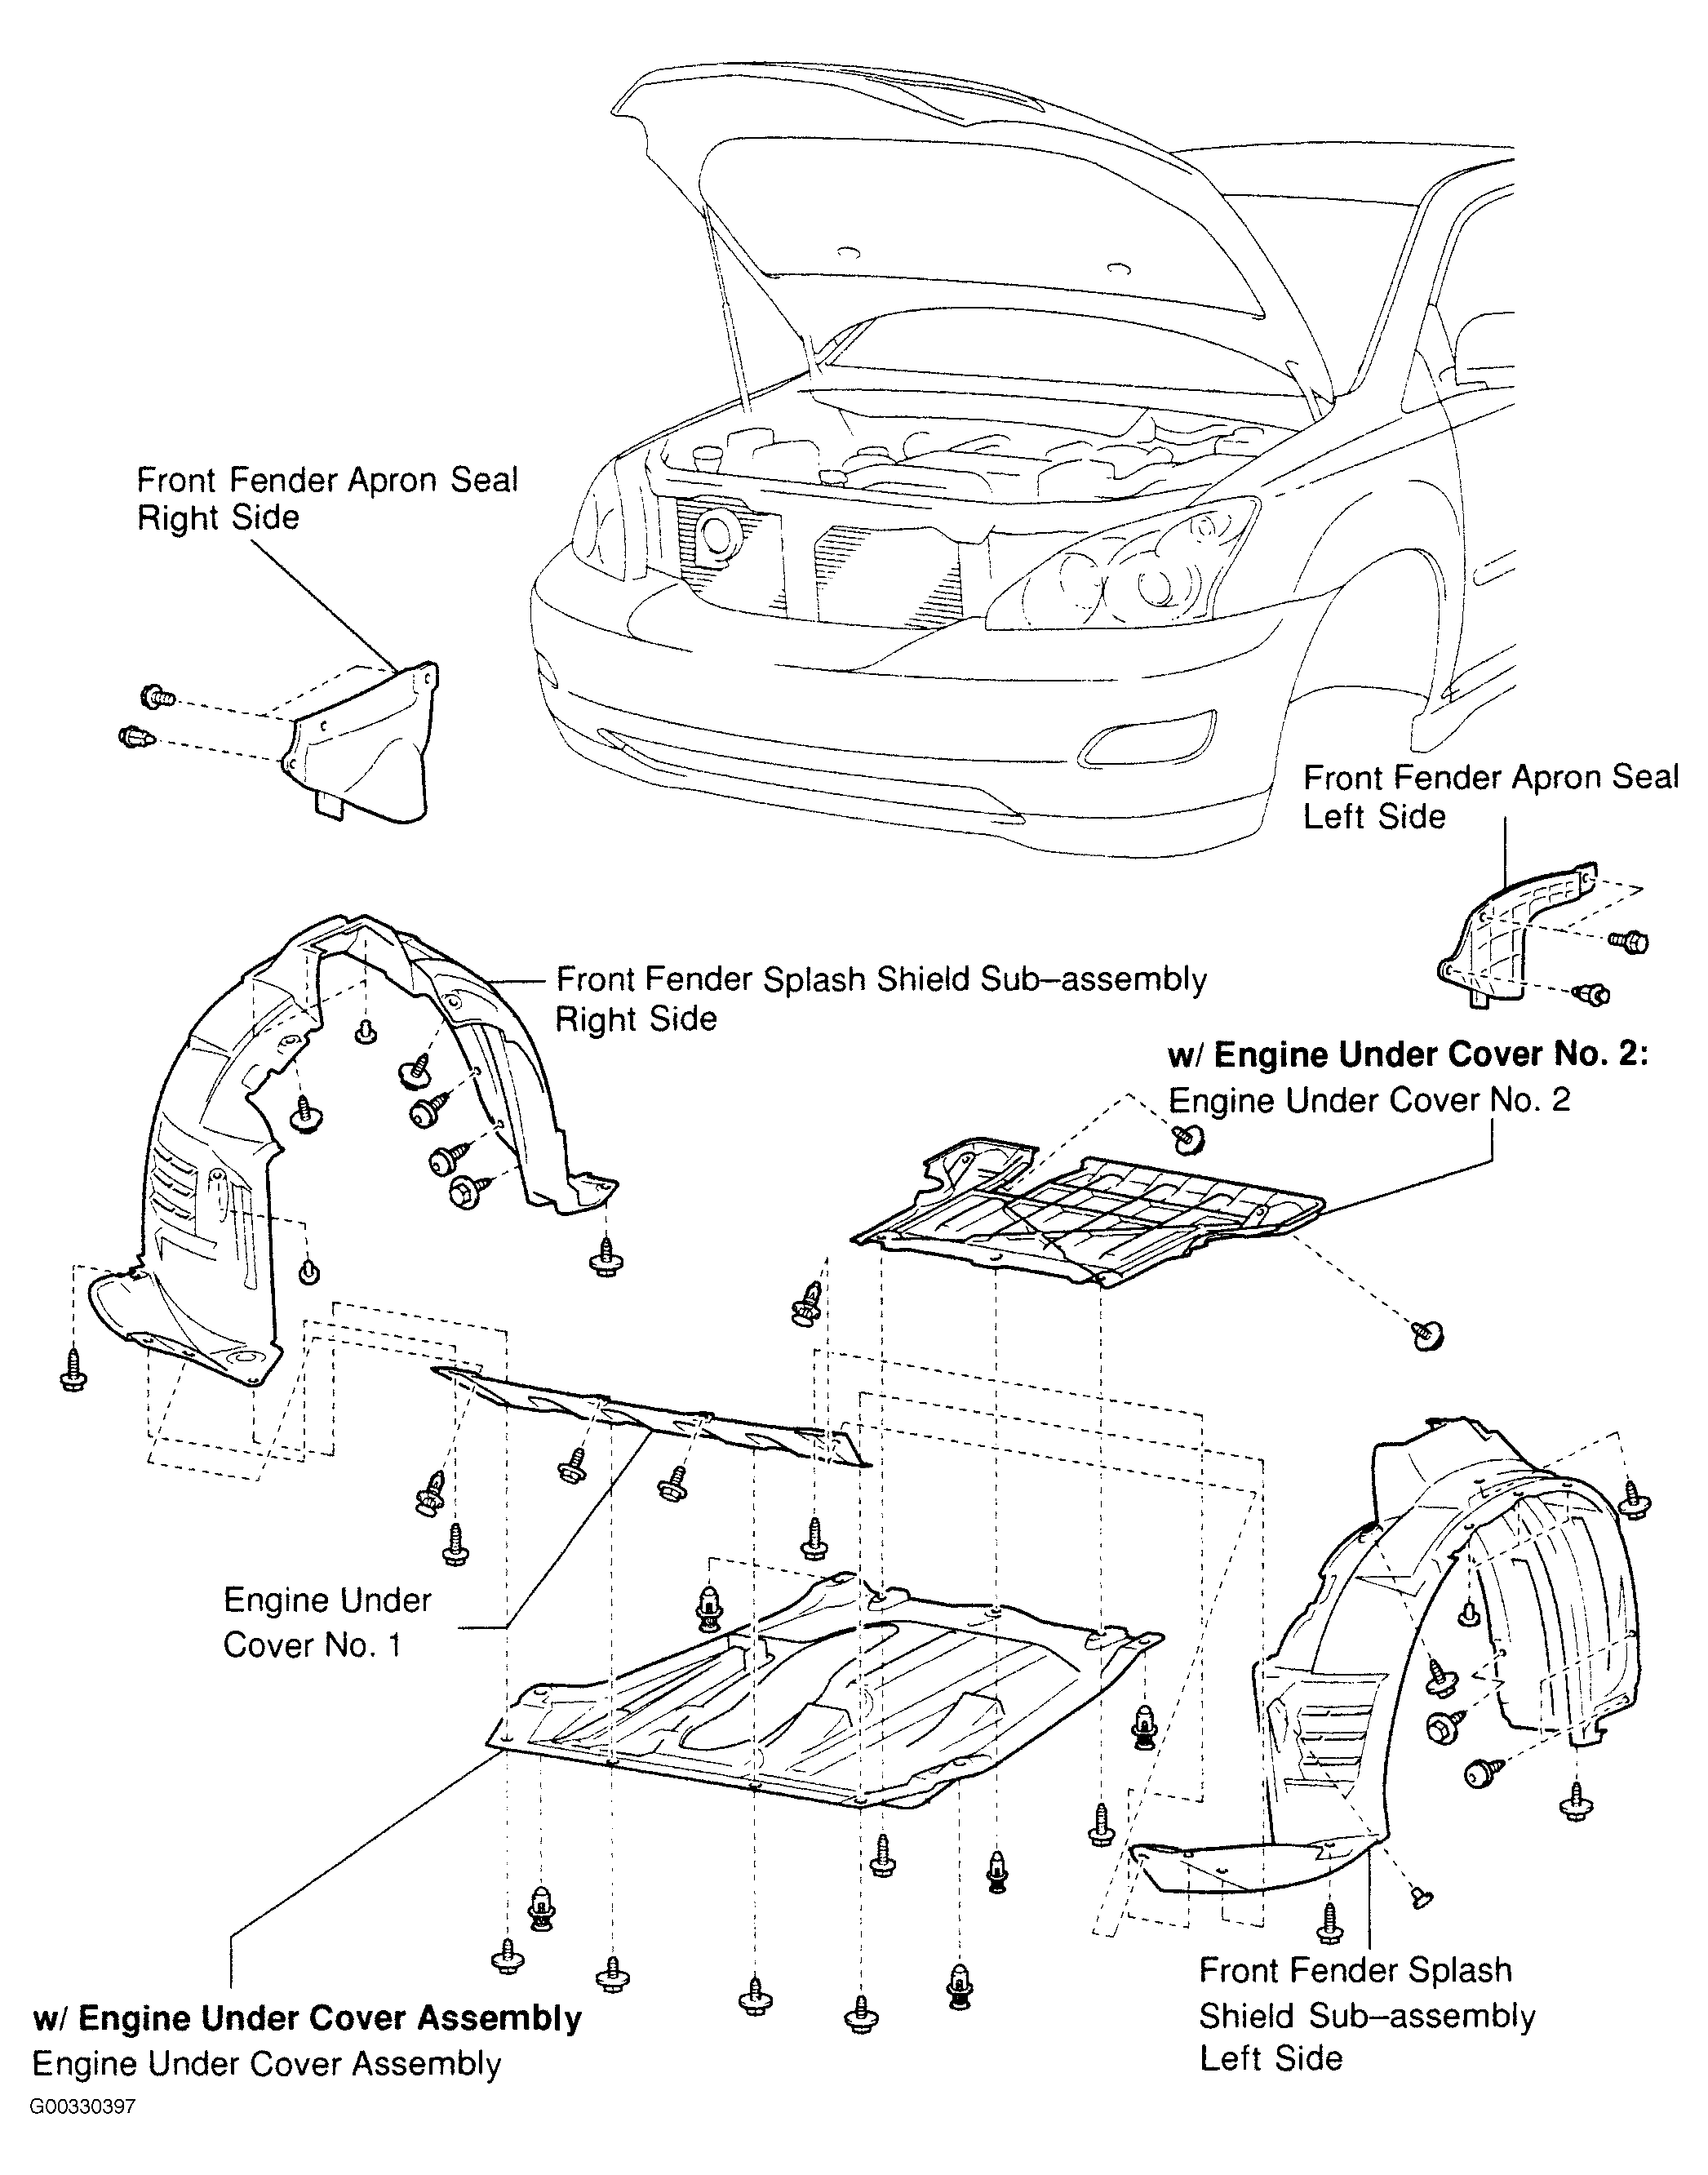
- Install engine undercover No. 1 and 2, or undercover assembly. See Fig 1.
- Reset memory. See COMPUTER RELEARN PROCEDURES
in GENERAL INFORMATION.
 Courtesy of © TOYOTA, LICENSE AGREEMENT TMS1002
 Courtesy of © TOYOTA, LICENSE AGREEMENT TMS1002
 Courtesy of © TOYOTA, LICENSE AGREEMENT TMS1002
 Courtesy of © TOYOTA, LICENSE AGREEMENT TMS1002