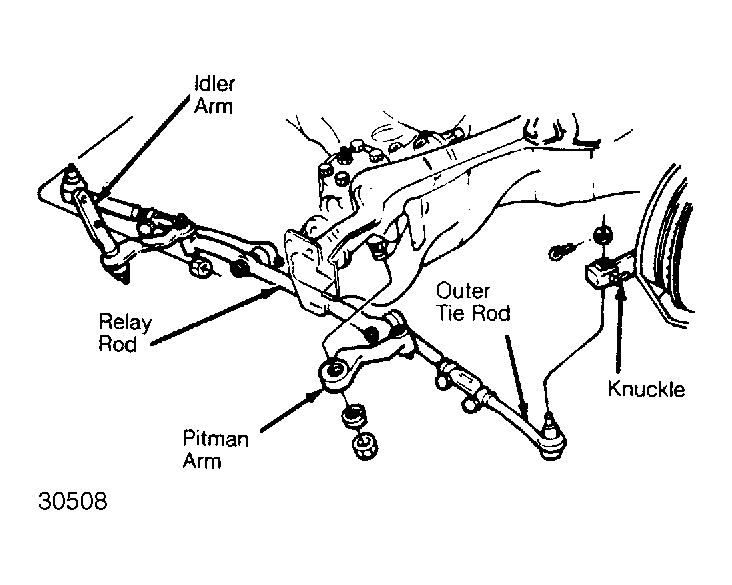
Place vehicle on hoist. Remove fasteners from ball stud and relay rod. Using Steering Linkage Puller (J-24319-01), remove ball stud from relay rod. Remove idler arm-to-frame bolts. Remove idler arm assembly.
NOTE:
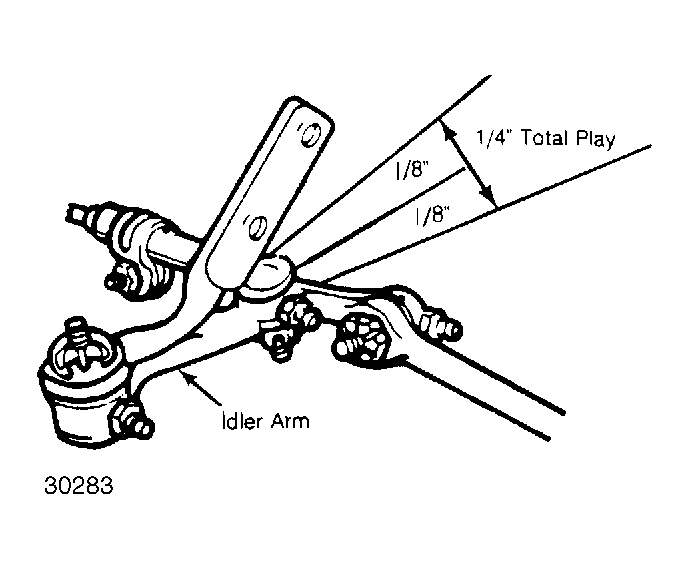
Idler arm assembly should always be replaced if an up and down force of 25 lbs. (11 kg), applied at relay rod end of idler arm, produces a lash of more than 1/8" (3 mm) in straight-ahead position.
 Courtesy of GENERAL MOTORS CORP.
 Courtesy of GENERAL MOTORS CORP.
 Courtesy of GENERAL MOTORS CORP.
 Courtesy of GENERAL MOTORS CORP.
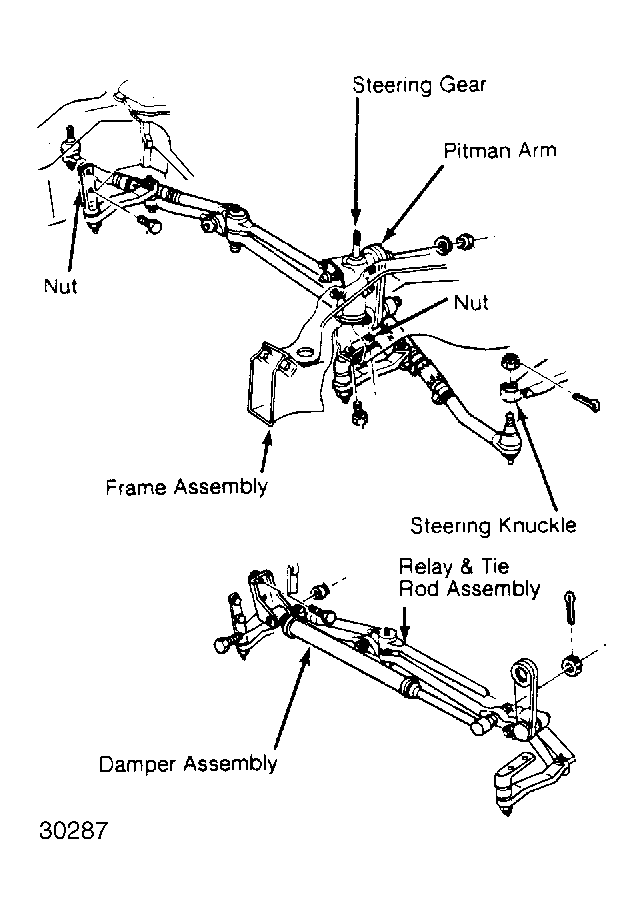 Courtesy of GENERAL MOTORS CORP.