MAINSHAFT W/Input Shaft: Disassembly
- Disassemble the geartrain housing. See GEARTRAIN HOUSING .
- Mount the main shaft in a vise with protective jaws.
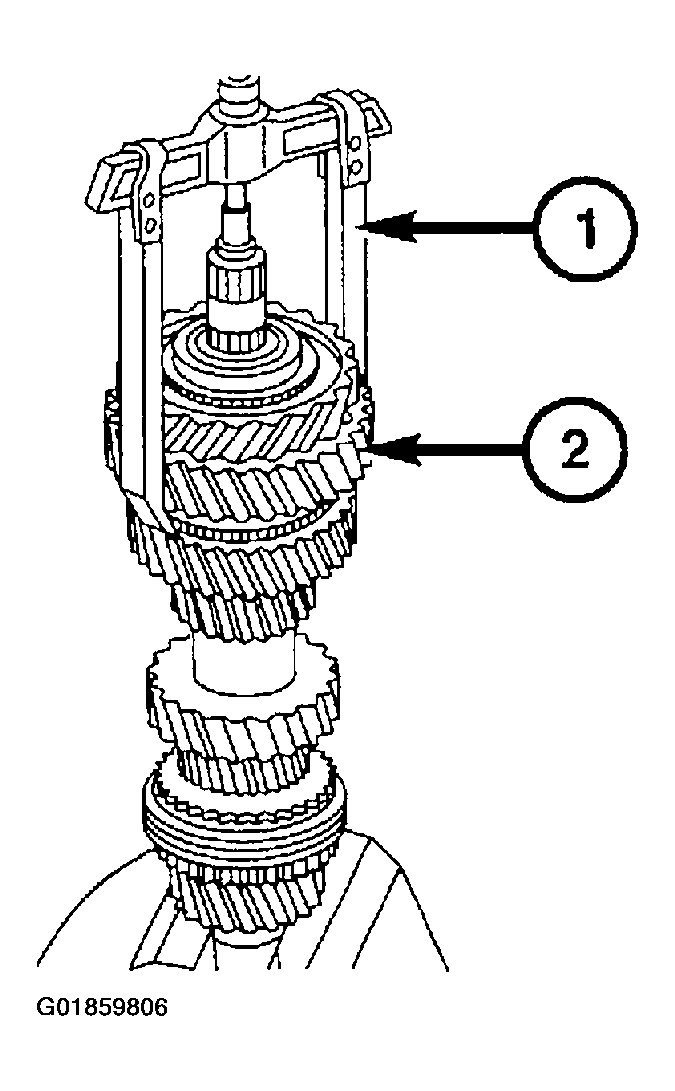
- Remove first gear idler gear (2) using a jaw puller (1).
 Courtesy of DAIMLERCHRYSLER CORP.
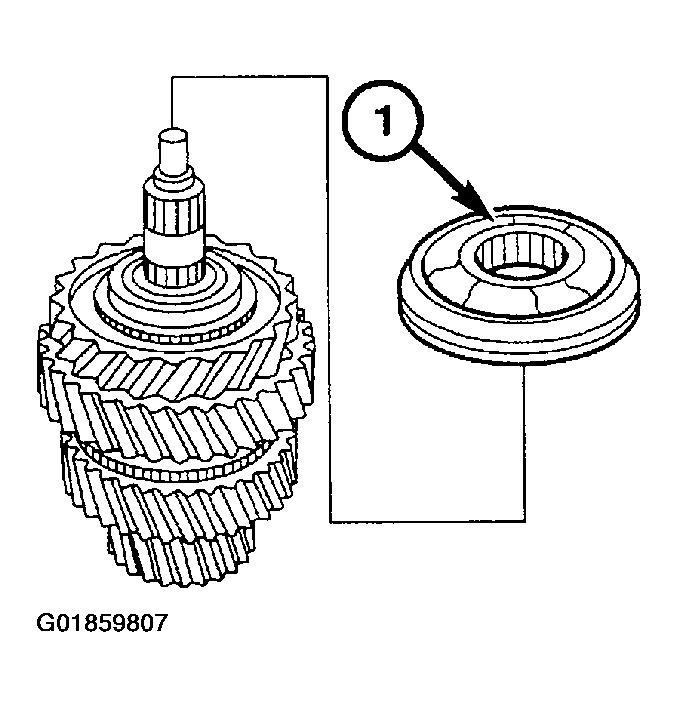
- Remove the reverse gear synchronizer assembly (1).
 Courtesy of DAIMLERCHRYSLER CORP.
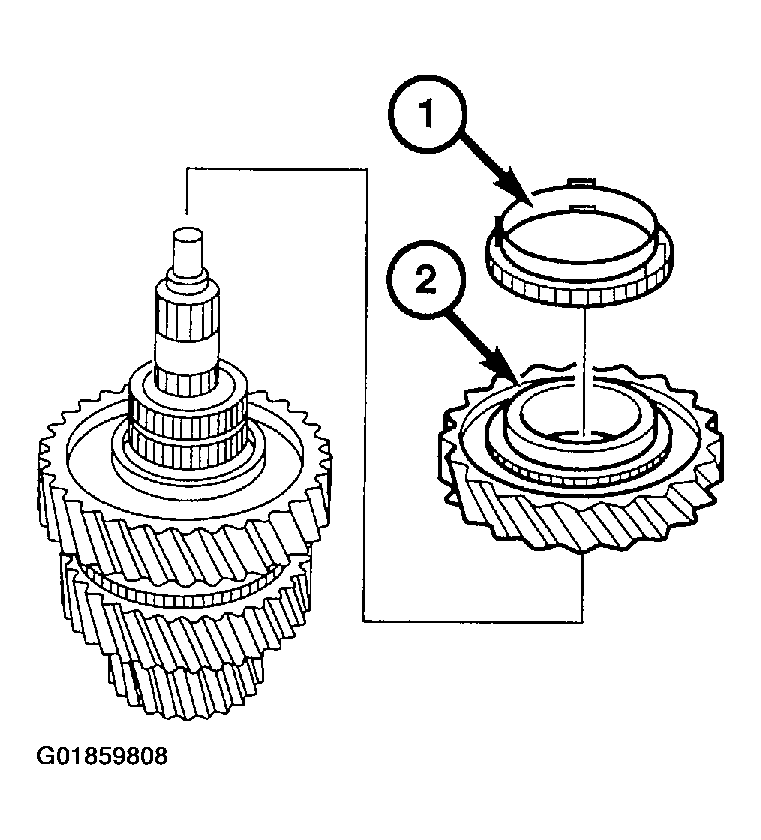
- Remove the synchronizer ring (1) and idler gear (2) for reverse gear.
 Courtesy of DAIMLERCHRYSLER CORP.
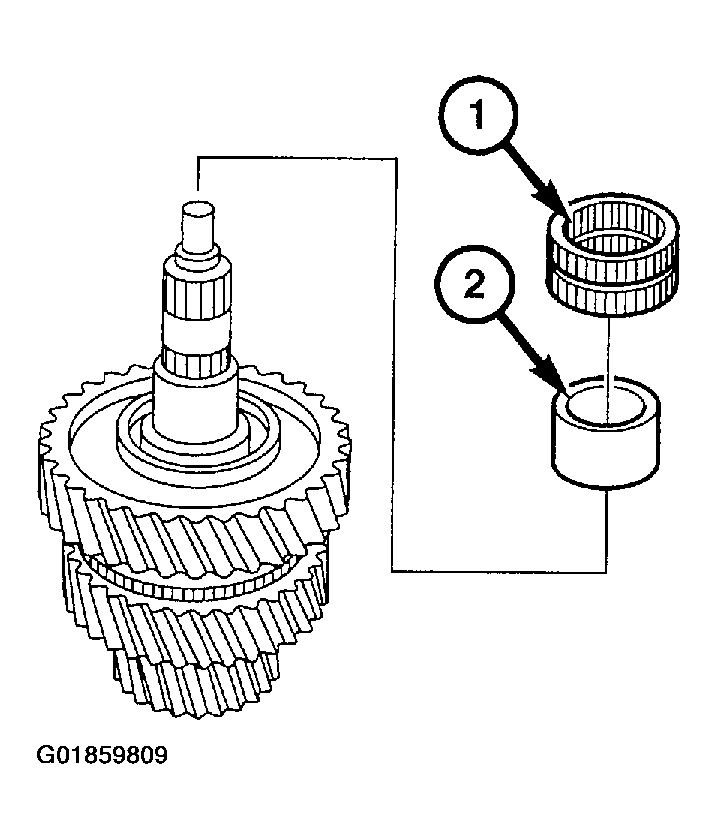
- Remove first gear needle bearing (1) and sleeve (2).
 Courtesy of DAIMLERCHRYSLER CORP.
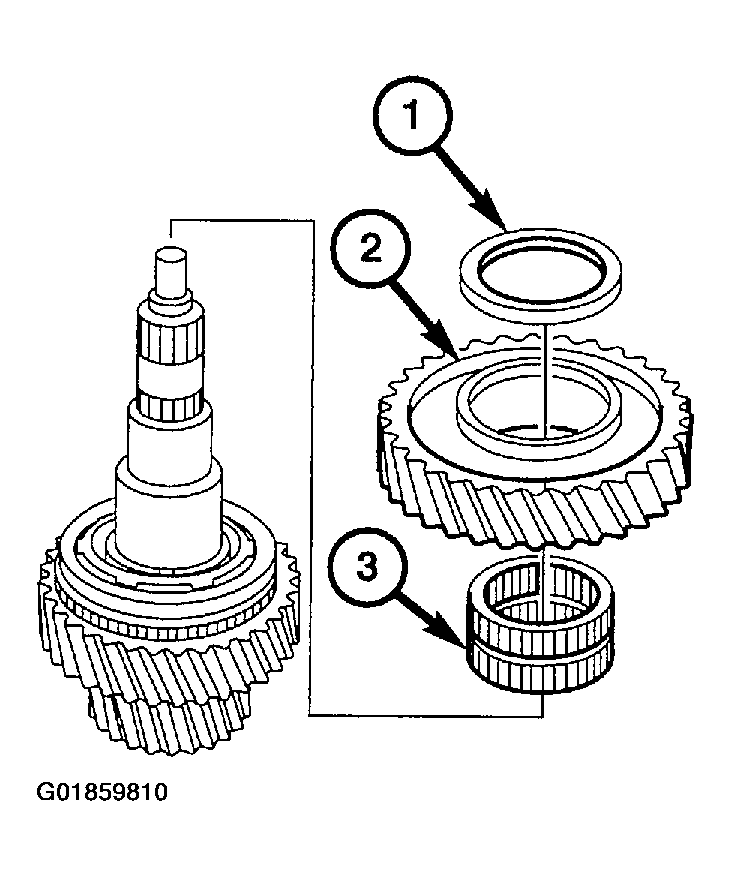
- Remove the thrust washer (1), first gear idler gear (2), and first gear idler needle bearing (3).
 Courtesy of DAIMLERCHRYSLER CORP.
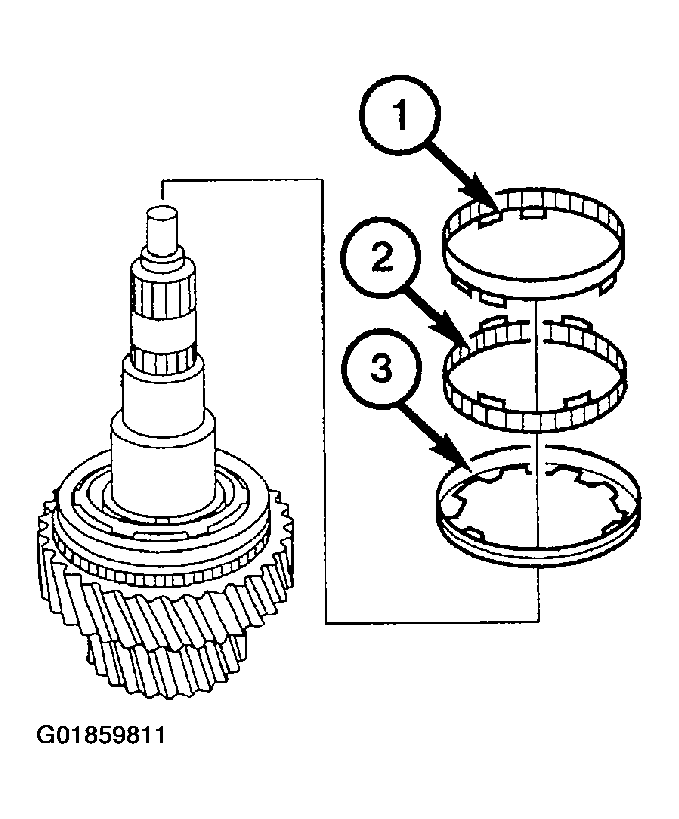
- Remove the friction ring (1), cone ring (2), and the synchronizer ring (3).
 Courtesy of DAIMLERCHRYSLER CORP.
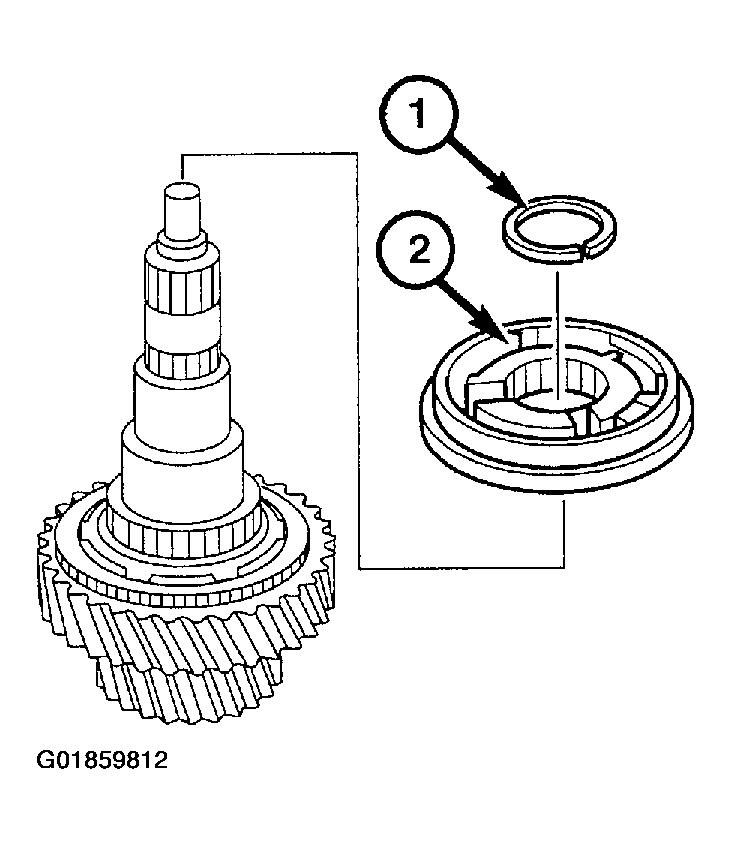
- Remove the locking ring (1) using pliers. Remove the 1st/ 2nd gear synchronizer using the jaw puller.
 Courtesy of DAIMLERCHRYSLER CORP.
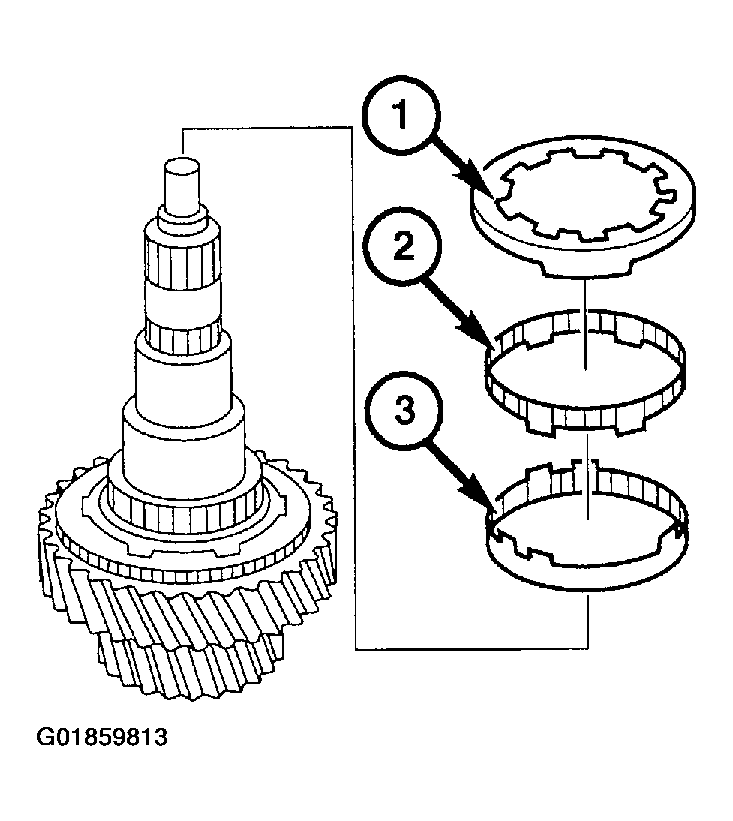
- Remove the synchronizer ring (1), cone ring (2), and friction ring (3).
 Courtesy of DAIMLERCHRYSLER CORP.
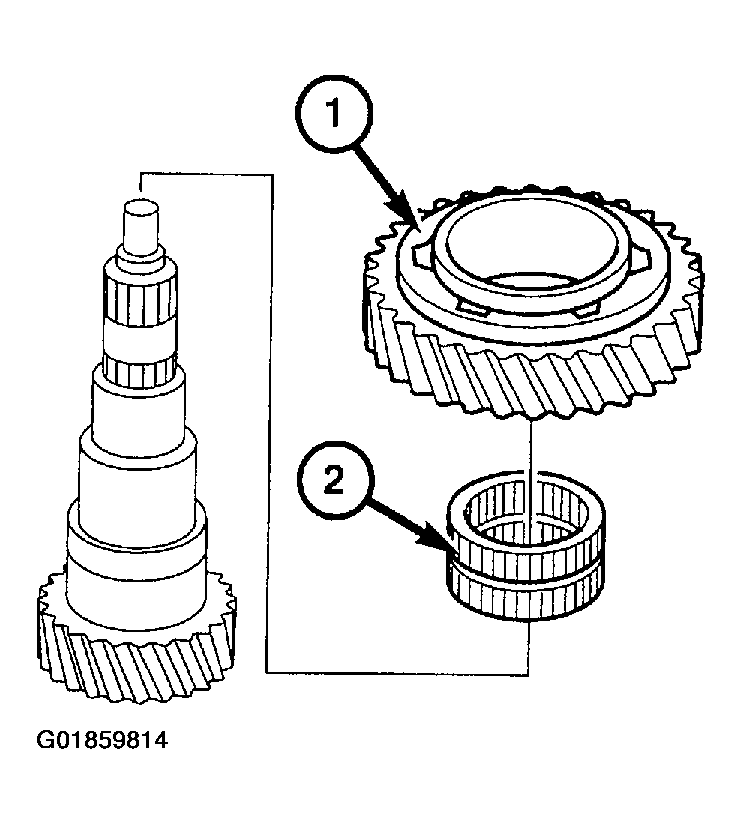
- Remove the second gear idler gear (1) and needle bearing (2).
 Courtesy of DAIMLERCHRYSLER CORP.
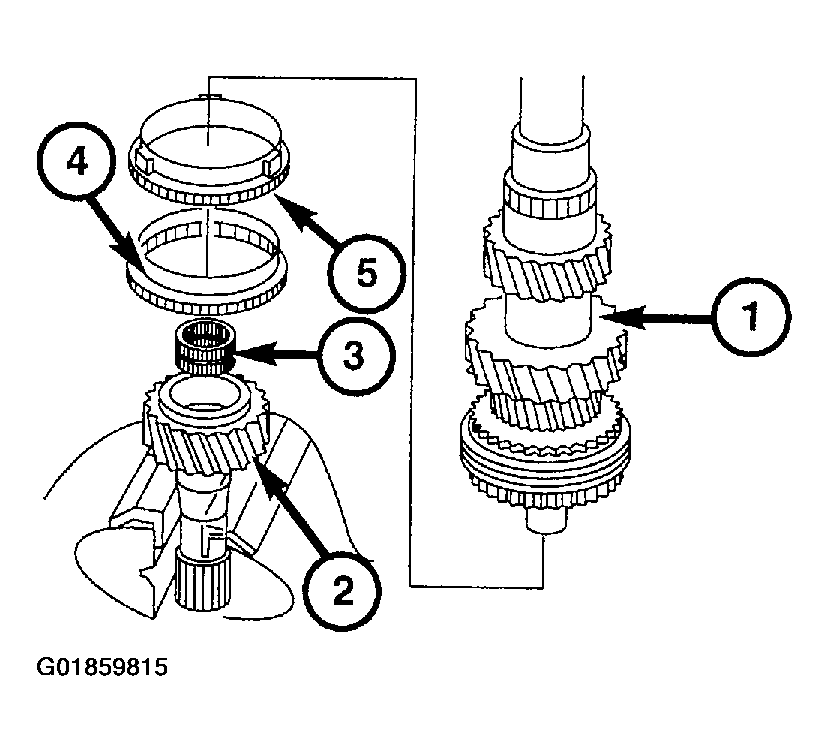
- Remove the main shaft (1) from the input shaft (2).
- Remove the synchronizer ring (5) and the clutch body (4).
- Remove the cylindrical roller bearing (3) from the input shaft (2).
 Courtesy of DAIMLERCHRYSLER CORP.
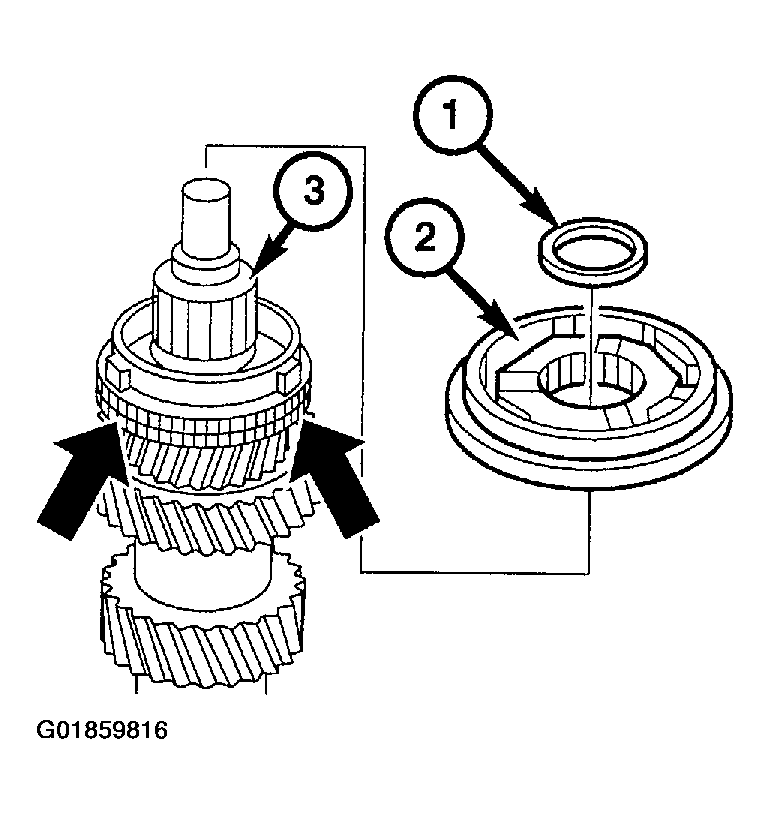
- Remove the input shaft (2) from the vise.
- Clamp the main shaft (3) in the vise with input end up.
 Courtesy of DAIMLERCHRYSLER CORP.
- Remove the locking ring (1), pull off the synchronizer cone (2) and the clutch body using the jaw puller.
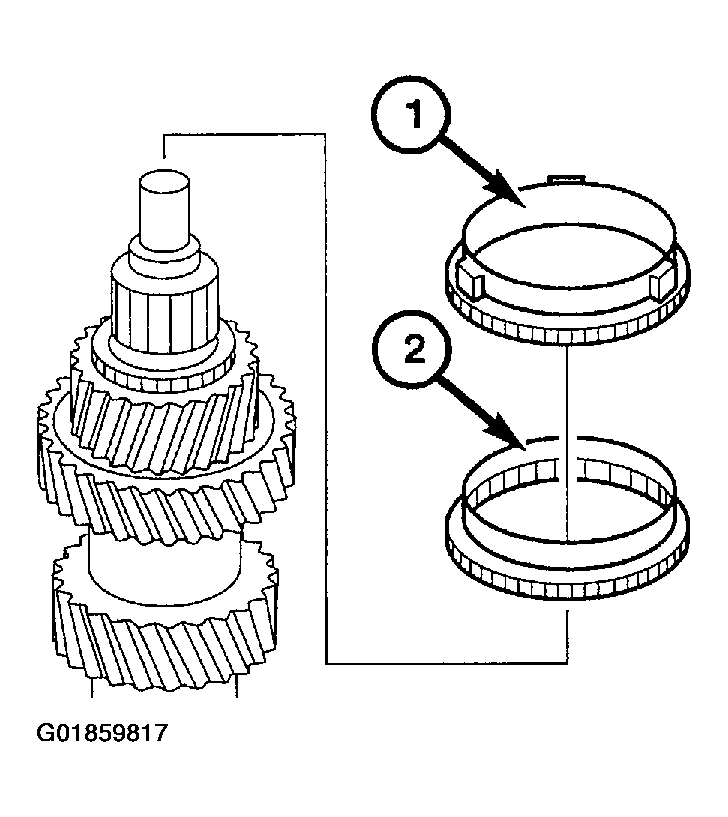
- Remove the synchronizer ring (1) and the clutch body (2).
 Courtesy of DAIMLERCHRYSLER CORP.
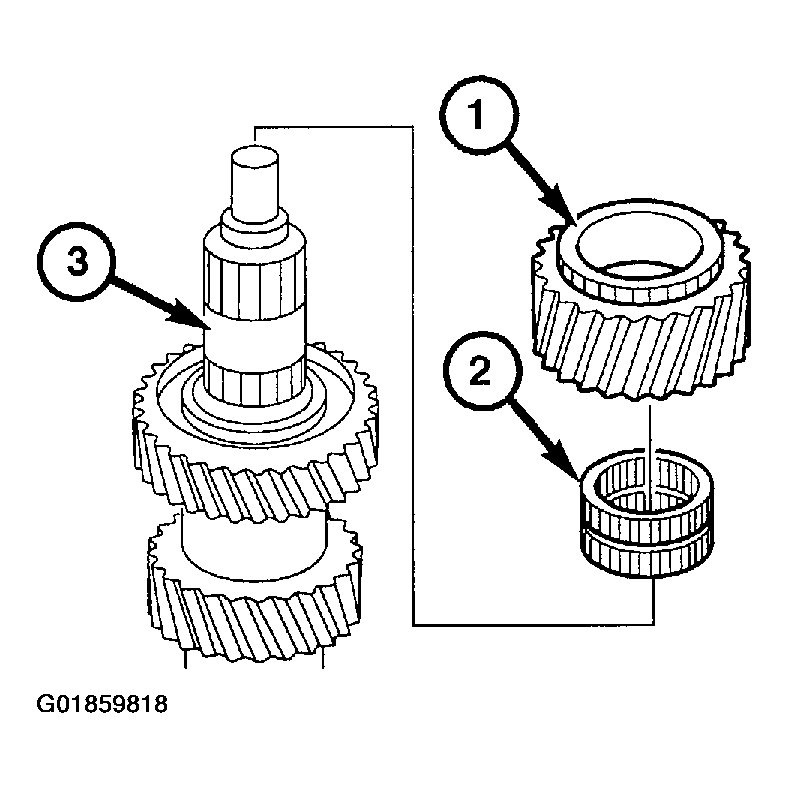
- Remove the 6th gear idler gear (1) and needle bearing (2).
 Courtesy of DAIMLERCHRYSLER CORP.
- Remove the main shaft (3) from the vise.