Installation Procedure
- Install Evaporative Emission Front Pipe@Vehicle
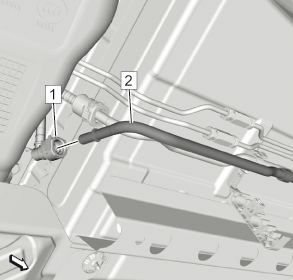 Courtesy of GENERAL MOTORS COMPANY
- Remove the EN-6015
plugs from all connections.
- Connect Evaporative Emission Front Pipe (2) @Evaporative Emission Canister Purge Pipe (1) Plastic Collar Quick Connect Fitting Service
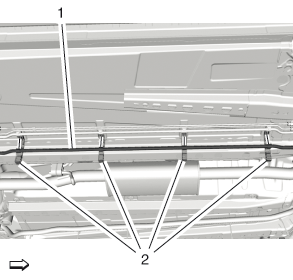 Courtesy of GENERAL MOTORS COMPANY
- Install Evaporative Emission Front Pipe (1) @Retainer Clip (2)
- Close Retainer Clip (2)
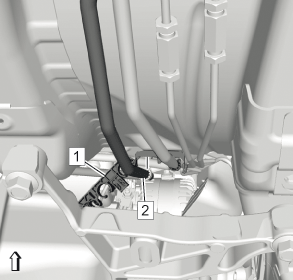 Courtesy of GENERAL MOTORS COMPANY
- Install Evaporative Emission Front Pipe (2) @Bulkhead Clip (1)
- Close Bulkhead Clip (1)
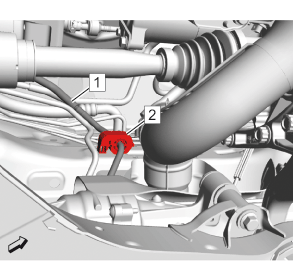 Courtesy of GENERAL MOTORS COMPANY
- Install Evaporative Emission Front Pipe (1) @Bulkhead Clip (2)
- Close Bulkhead Clip (2)
- Lower the vehicle.
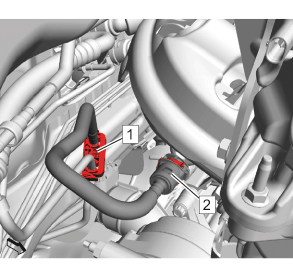 Courtesy of GENERAL MOTORS COMPANY
- Install Evaporative Emission Front Pipe (2) @Bulkhead Clip (1)
- Close Bulkhead Clip (1)
- Remove the EN-6015
plugs from all connections.
- Connect Evaporative Emission Front Pipe (2) @Evaporative Emission Canister Purge Solenoid Valve Plastic Collar Quick Connect Fitting Service
- Install the engine sight shield. Engine Sight Shield Replacement
- Connect the battery negative cable. Battery Negative Cable Disconnection and Connection