Installation Procedure
- Use the J 29193
in order to connect the connecting rod to the pitman arm ball stud. Ensure that the seal is on the stud. Tighten theJ 29193
to 54 N.m (40 lb ft) in order to seat the tapers. Remove the J 29193
.
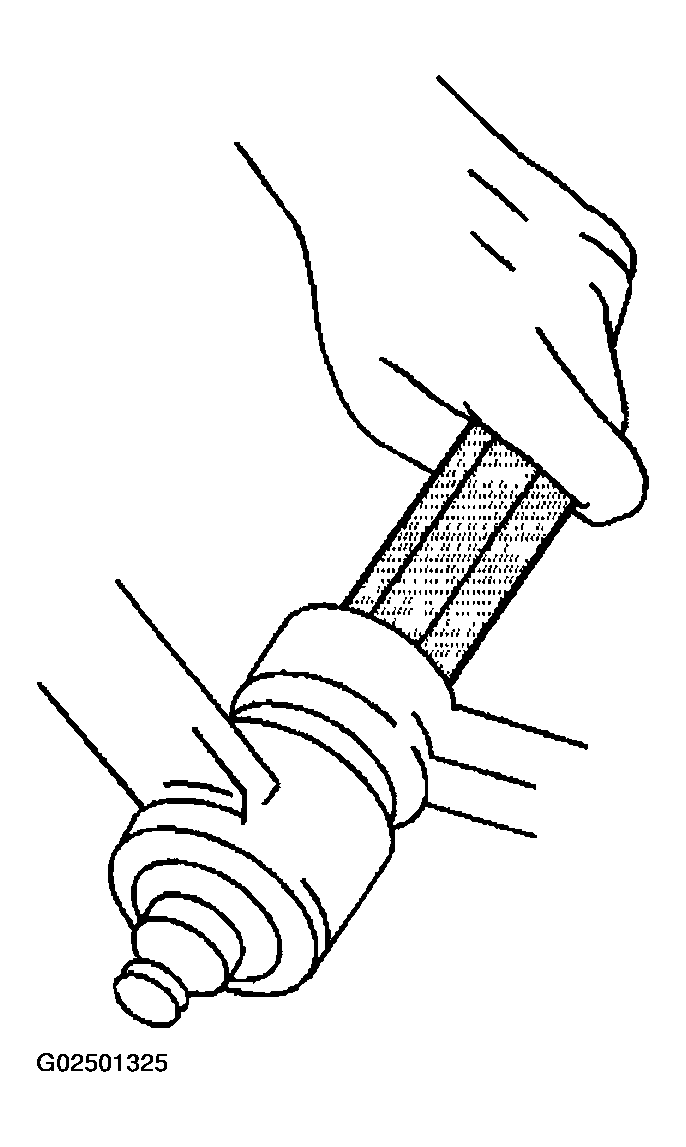 Courtesy of GENERAL MOTORS CORP.
- Install the new prevailing torque nut (2) to the pitman arm (3) ball stud. Tighten the nut to 62 N.m (48 lb ft).
- Use the J 29193
in order to install the connecting rod (1) ball stud to the relay rod (4). Ensure that the seal is on the stud. Tighten the J 29193
to 54 N.m (40 lb ft) in order to seat the tapers.
- Remove the J 29193
.
- Install the new prevailing torque nut (5) to the ball stud. Tighten the nut to 47 N.m (35 lb ft).
- Lower the vehicle.
- Adjust the toe-in. Refer to FRONT TOE ADJUSTMENT
.